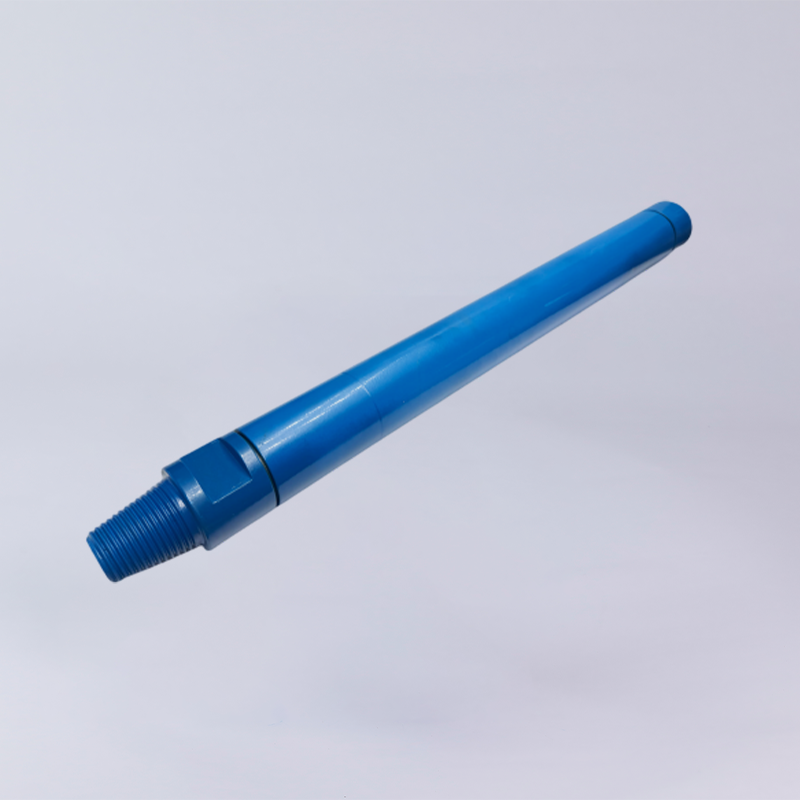
A DTH drill bit can wear out prematurely because of excessive rock abrasiveness, incorrect rotation speed or feed force, insufficient hole flushing, unsuitable carbide button selection, or delayed inspection and regrinding. Poorly matched drilling parameters can accelerate button wear, while inadequate flushing allows cuttings to remain around the bit and increases abrasive contact.
The first step is to inspect the wear pattern, verify the actual drilling parameters, and check whether the bit is suitable for the rock formation. Correcting these factors can extend bit life and reduce drilling cost per meter. If wear remains excessive, review the bit design, carbide grade, and drilling equipment with your drilling tool supplier.
Quick Diagnosis: What Is Wearing Out on Your DTH Bit?
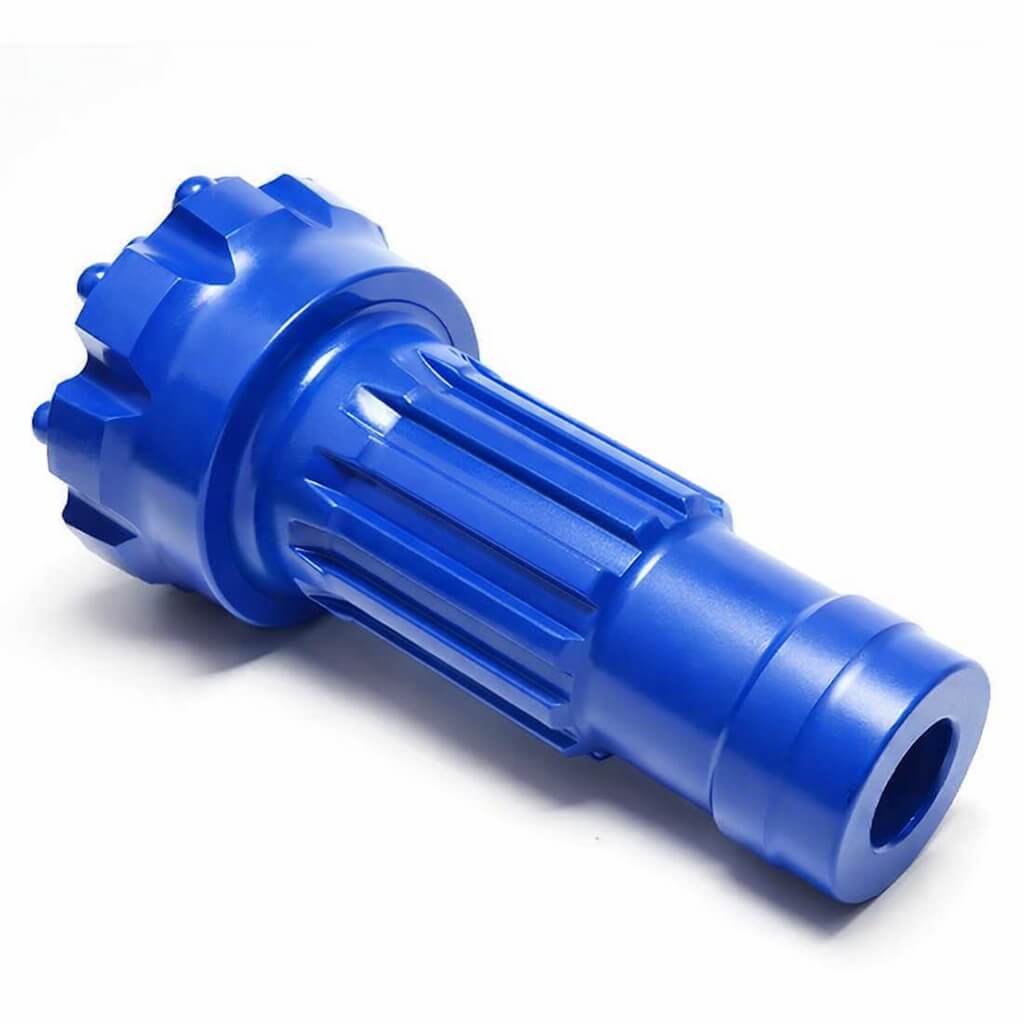
Before changing drilling parameters or ordering a replacement bit, identify where the wear is occurring. The condition of the carbide buttons, bit body, skirt body, and flushing passages can help narrow down the likely cause.
| What you observe | Possible causes | What to check first |
|---|---|---|
| Carbide buttons become flat quickly | Abrasive rock, unsuitable carbide grade, excessive sliding contact, or delayed inspection | Button wear, rock abrasiveness, rotation settings |
| Buttons chip or break | Excessive impact loading, fractured rock, unsuitable carbide toughness, or damaged button seats | Button condition, feed force, rock structure |
| Bit skirt body wears rapidly | Abrasive contact, cuttings erosion, or excessive contact with the hole wall | Skirt body thickness, hole conditions, flushing |
| Wear is concentrated on outer buttons | Uneven loading, bit instability, wall contact, or unsuitable rotation settings | Bit gauge button, outer-button condition, rotation |
| Drilling speed drops as the bit wears | Worn buttons, poor flushing, or reduced hammer performance | Penetration rate, air supply, bit and hammer condition |
| Cracks or material loss appear | Impact damage, thermal stress, or structural deterioration | Crack location, operating history, manufacturer limits |
These patterns are diagnostic clues, not definitive proof of a single cause. For example, flat button wear may be associated with highly abrasive rock, but the correct response also depends on the button design, drilling conditions, and manufacturer's wear limits.
7 Causes of Premature DTH Drill Bit Wear and How to Fix Them
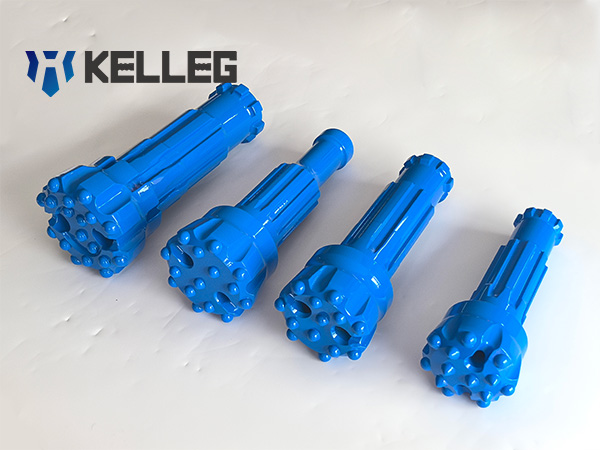
1. Incorrect Rotation Speed and Feed Force
Rotation speed and feed force must work together with the impact energy generated by the DTH hammer. Increasing either parameter does not automatically improve drilling performance.
How incorrect settings accelerate wear
- Excessive rotation speed can increase sliding contact between the carbide buttons and the rock, accelerating abrasive wear.
- Excessive feed force can increase loading on the buttons and button seats, particularly when drilling fractured or uneven rock.
- Insufficient feed force can cause unstable contact between the bit and the rock, reducing drilling efficiency.
- Poorly matched settings may contribute to uneven button wear, bit instability, and excessive wear around the outer buttons.
The appropriate settings depend on the hammer model, bit diameter, rock formation, and drilling equipment.
How to check the problem in the field
- Record the actual rotation speed in RPM and the feed pressure or force.
- Check the manufacturer's recommended operating range for the specific hammer and bit.
- Compare penetration rate and wear patterns across holes drilled in similar rock.
- Look for changes in vibration, rotation stability, and button wear after a parameter adjustment.
Do not increase feed pressure simply because penetration has slowed. Poor flushing, worn buttons, or reduced hammer performance may be responsible.
Solutions
- Adjust rotation speed and feed force within the equipment manufacturer's recommendations.
- Change one parameter at a time and record the effect on penetration rate and bit condition.
- If outer buttons wear unevenly, inspect bit stability, hole-wall contact, gauge button wear, and rotation settings before changing the carbide grade.
The objective is stable rock breaking with controlled button contact, not the highest possible rotation speed or feed force.
2. Insufficient Hole Flushing and Airflow
Hole flushing removes cuttings from the bottom of the borehole and carries them toward the surface. When flushing is inadequate, drilling debris can accumulate around the bit and interfere with efficient rock breaking.
Why insufficient flushing can accelerate wear
- Cuttings remaining near the bit can increase repeated abrasive contact.
- Accumulated debris can interfere with normal bit-rock contact and reduce penetration rate.
- Poor cuttings removal can contribute to unstable drilling conditions and additional wear.
- Abnormal airflow and particle movement may contribute to localized erosion around flushing passages and the bit body.
However, body erosion is not always caused by insufficient airflow. Localized erosion can also result from abrasive particles moving through specific passages, unsuitable operating conditions, or other design and wear factors.
How to check flushing performance
Start by examining the actual drilling conditions rather than relying on compressor specifications alone.
- Check whether cuttings return to the surface continuously and whether the return flow changes during drilling.
- Inspect air hoses, connections, filters, and relevant passages for leakage, restriction, or damage.
- Verify the actual working pressure and available airflow under operating conditions.
- Consider hole diameter, depth, drilling conditions, and the air requirements of the specific DTH hammer.
Understanding flushing CFM
CFM means cubic feet per minute, a unit of volumetric airflow. Compressor rated displacement, delivered airflow under working conditions, and effective airflow through the hammer and bit are not necessarily the same.
For this reason, there is no single CFM value suitable for every DTH bit. The required airflow depends on the drilling setup, hole dimensions, hammer design, and cuttings-removal requirements.
Solutions
- Restore the air supply to the manufacturer's specified operating conditions.
- Repair leaks and remove restrictions in the air supply system.
- Investigate poor cuttings return before increasing compressor output.
- For deeper holes or difficult flushing conditions, reassess the available airflow against the actual drilling requirements.
Improving flushing can restore drilling efficiency, but the result should be verified through cuttings return, penetration rate, and subsequent bit inspection.
3. Rock Abrasiveness Exceeds the Carbide Grade or Bit Design
Rock hardness and rock abrasiveness are related but different properties. Hard rock can impose substantial impact loads, while highly abrasive rock can wear down carbide buttons rapidly through repeated contact with hard mineral particles.
Quartz-rich formations are a common example of conditions that can contribute to accelerated abrasive wear.
A DTH bit that performs well in one formation may have a much shorter service life in another, even when the hole diameter and drilling equipment remain unchanged.
How to identify a rock-related wear problem
- Review the rock formation and any available mineralogical or abrasiveness data.
- Compare the wear rate of center buttons and gauge buttons.
- Record the drilled meters before significant button wear occurs.
- Check whether the bit continues to lose button height or gauge button diameter faster than expected under comparable conditions.
- Review the carbide grade and button design against the actual rock and impact conditions.
How carbide grade affects bit life
Tungsten carbide used in rock drilling commonly consists of tungsten carbide particles bonded with cobalt. The properties of the finished material depend on its composition, grain structure, manufacturing process, and other material characteristics.
A carbide grade with greater wear resistance may be beneficial in highly abrasive formations. However, wear resistance cannot be considered separately from toughness. A material that resists abrasion well may not be the best choice when the bit experiences severe impact loading or fractured rock conditions.
Cobalt content alone is not a reliable indicator of overall bit performance.
Solutions
- Select carbide grades according to rock abrasiveness, impact loading, and the expected failure mode.
- Review button geometry and bit-face design alongside the carbide material.
- In highly abrasive rock, evaluate whether a more wear-resistant grade offers a measurable improvement in drilled meters.
- In fractured or impact-intensive formations, prioritize an appropriate balance between wear resistance and toughness.
For reliable comparisons, test alternative bit designs under similar rock conditions and record bit life, penetration rate, and cost per meter.
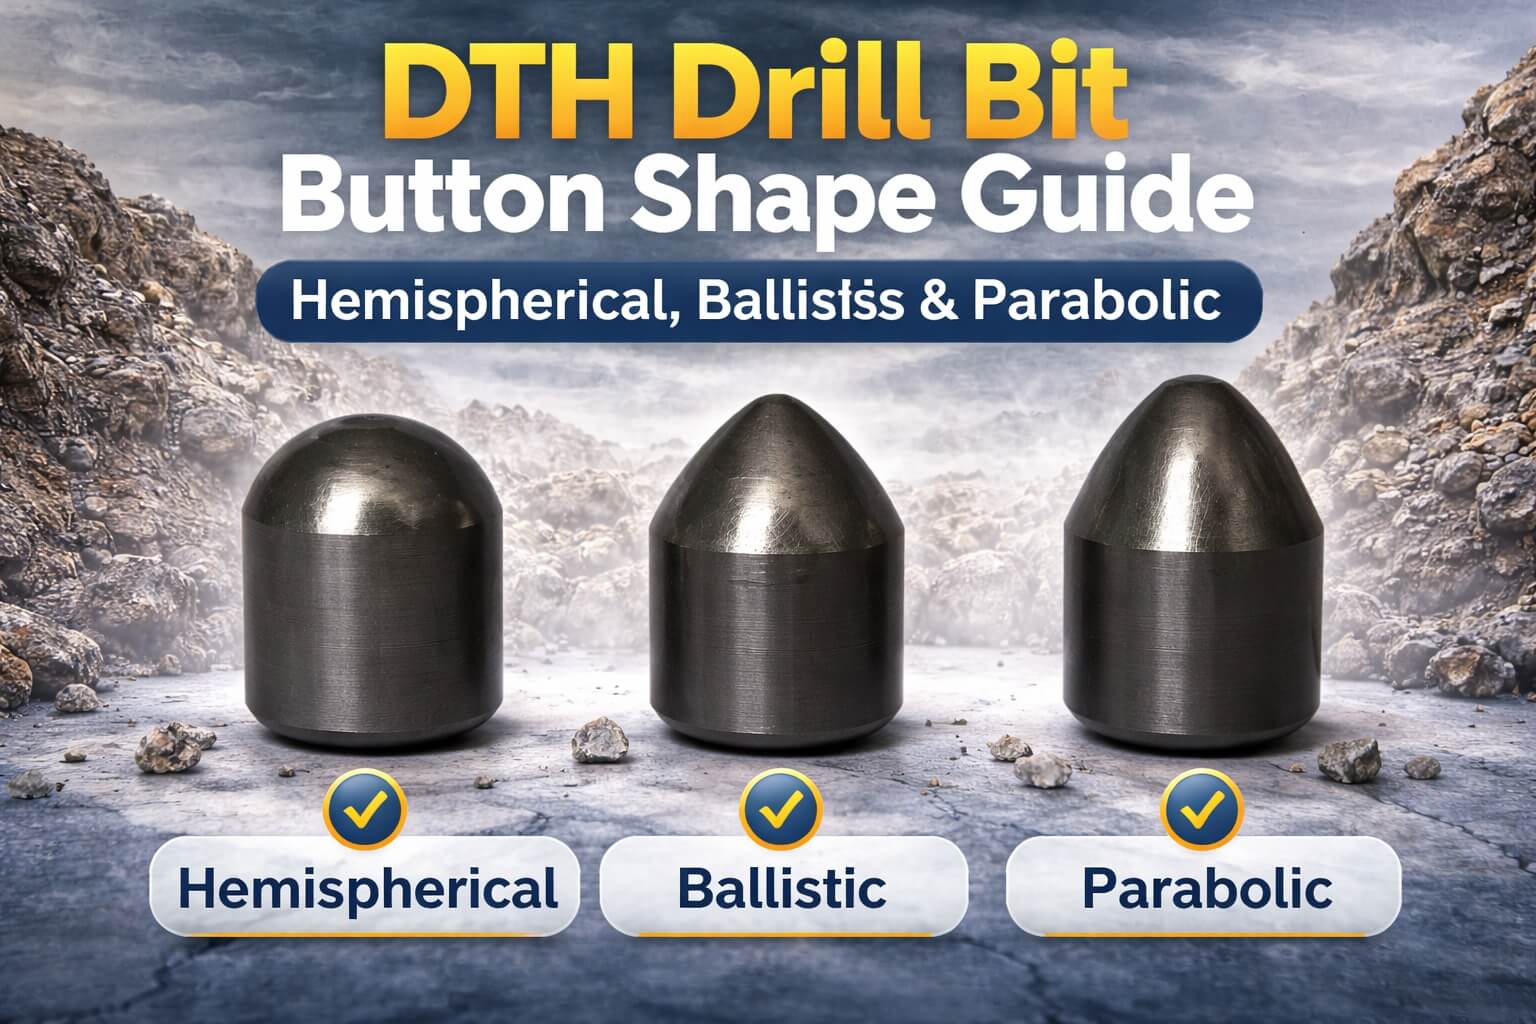
4. Incorrect Button Shape, Size, or Distribution
Carbide button geometry affects how the bit engages the rock and distributes impact loads. The wrong button configuration can lead to uneven wear, premature chipping, or inefficient penetration.
The best configuration depends on the rock formation, impact conditions, bit diameter, and the design of the DTH hammer.
Common warning signs
- Center buttons and gauge buttons wear at noticeably different rates.
- Certain buttons repeatedly chip while others remain in good condition.
- Wear is concentrated around a particular part of the bit face.
- Button seats show damage or signs of abnormal loading.
How to check the problem
Inspect the button arrangement and compare the actual wear pattern with the bit's original design. Confirm that the bit is intended for the relevant rock formation and is compatible with the hammer and drilling conditions.
Also inspect the button seats. A damaged seat can contribute to premature button failure even when the carbide material itself is suitable.
Solutions
- Match button shape and size to the formation and expected impact conditions.
- Review the button layout if wear consistently concentrates in particular areas.
- If buttons repeatedly break, investigate impact loading, fractured rock, and material toughness rather than automatically selecting a harder carbide grade.
- If buttons wear flat rapidly, review abrasiveness, rotation settings, and wear resistance.
A change in button design should be supported by field evidence, not simply by the assumption that a larger or harder button will last longer.
5. Body Wash, Skirt Body Erosion, and Localized Material Loss
Premature wear does not always begin at the carbide buttons. The bit body and skirt body can also experience significant material loss, particularly around areas exposed to abrasive particles, flushing flow, and contact with the hole wall.
Body wash refers to erosion or material loss from the bit body. Skirt body erosion specifically describes wear around the lower outer body of the bit.
What can cause body wash?
Potential causes include abrasive cuttings moving through localized flow paths, erosion near flushing passages, excessive contact with the borehole wall, and operating conditions that concentrate wear in particular areas.
The exact cause depends on the location and shape of the damage.
How to inspect the bit
- Examine the skirt body, flushing outlets, and cuttings-removal passages.
- Look for grooves, localized thinning, or uneven material loss.
- Check whether the outer diameter has fallen below the manufacturer's acceptable limit.
- Inspect for damage that could affect the structural integrity of the bit.
- Compare the wear location with the observed cuttings-return pattern and borehole conditions.
Solutions
Correct abnormal flushing conditions and investigate uneven contact with the hole wall. If erosion is concentrated around a particular passage, assess whether the damage is associated with the flow path, abrasive cuttings, or another operating condition.
When the skirt body has suffered significant structural damage, follow the manufacturer's inspection and rejection criteria. Do not continue using a bit solely because some carbide buttons remain serviceable.
During bit selection, consider body design and material performance alongside button wear resistance.
6. Delayed Inspection and Incorrect Regrinding
Button wear is gradual, but its effect on drilling performance can become increasingly noticeable as the button profile changes.
When buttons wear flat, the bit may become less effective at breaking rock. Continuing to drill without inspection can reduce penetration rate and increase the cost of completing a hole.
Regrinding can restore the required button profile on eligible bits, but it is not appropriate for every DTH bit or every type of damage.
How to determine when inspection is needed
Look for:
- A growing flat area on the button crown.
- A noticeable decline in penetration rate under otherwise comparable conditions.
- Uneven wear between center and gauge buttons.
- Chipping, cracks, loose buttons, or damaged button seats.
- Wear approaching the manufacturer's specified inspection or rejection limits.
Inspection intervals should reflect rock abrasiveness, drilling intensity, and the manufacturer's guidance. A fixed number of operating hours or drilled meters should not be applied universally.
When should a DTH bit be reground?
Regrind only if the specific bit is designed or approved for regrinding and remains within the manufacturer's allowable condition.
Before regrinding:
- Clean the bit so the buttons and body can be inspected accurately.
- Check the buttons and seats for cracks, chipping, looseness, or other damage.
- Confirm the permitted button profile and grinding procedure.
- Use compatible grinding equipment and follow the relevant safety instructions.
- Record the condition before and after grinding.
A bit with serious structural damage, unacceptable button-seat damage, or wear beyond the manufacturer's limits should not be returned to service simply because the buttons can be ground.
Solutions
Establish a routine inspection process and record drilled meters between inspections. Where regrinding is permitted, use the specified tools and restore the intended geometry rather than grinding every button to an arbitrary shape.
Compare penetration rate and subsequent bit life after regrinding to determine whether the maintenance process is delivering practical value.
7. Worn or Mismatched DTH Hammer and Drilling Equipment
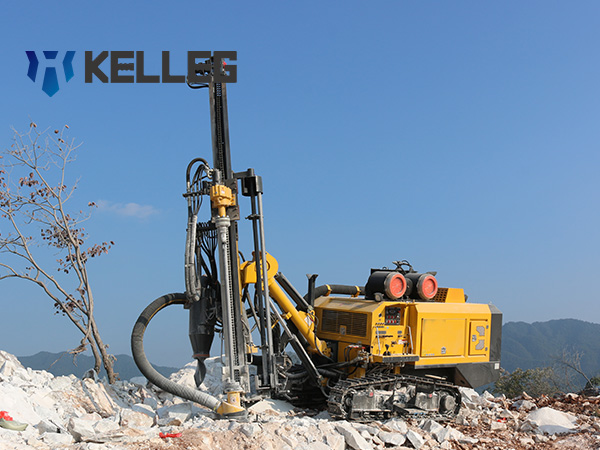
A new DTH bit can also wear prematurely if the hammer or drilling setup is not operating correctly. Replacing the bit without checking the equipment may repeat the same problem.
Possible causes
- The bit shank or dimensions do not match the hammer.
- Actual air supply does not meet the hammer's operating requirements.
- Hammer performance has deteriorated.
- Drilling conditions create unstable bit contact or abnormal loading.
- The drilling setup is unsuitable for the selected bit and formation.
How to check the equipment
- Verify the hammer model and the bit's shank compatibility.
- Check working pressure and available airflow against the hammer manufacturer's requirements.
- Review hammer maintenance records if drilling performance has declined.
- Compare the condition of a new bit with the wear pattern observed on previous bits.
- Investigate whether the same problem occurs across multiple bits in the same drilling setup.
Solutions
Restore the hammer and air supply to the required operating condition before concluding that the bit design is unsuitable.
If multiple new bits show similar premature wear under comparable conditions, investigate the common factors first: equipment condition, operating settings, rock formation, and flushing performance.
A more expensive bit will not necessarily solve a problem caused by an unsuitable drilling setup.
DTH Drill Bit Wear Pattern Diagnostic Matrix
Use the following table to connect visible wear patterns with likely causes and the next field checks.
| Wear pattern | Likely causes | Field checks and corrective action |
|---|---|---|
| Flat button wear | High rock abrasiveness, unsuitable carbide grade, prolonged use, or excessive sliding contact | Inspect button profiles, review rock conditions, verify rotation settings, and assess regrinding eligibility |
| Button chipping or breakage | Excessive impact loading, fractured rock, unsuitable material toughness, or damaged button seats | Review drilling settings, inspect button seats, and assess rock structure and carbide suitability |
| Body wash or skirt body erosion | Abrasive particle erosion, localized flow conditions, wall contact, or other operating factors | Inspect the skirt body and flushing passages, check gauge wear, and investigate airflow and hole conditions |
| Heat checking or thermal cracks | Localized thermal stress, thermal cycling, impact damage, or material-related failure | Examine crack location and extent, review operating history, and follow manufacturer rejection criteria |
| Uneven gauge button wear | Bit instability, uneven loading, wall contact, or unsuitable rotation settings | Check bit gauge button, rotation stability, hole conditions, and button profile |
| Rapid wear with poor penetration | Combined effects of worn buttons, poor flushing, hammer problems, or parameter mismatch | Check air supply, cuttings return, hammer condition, rotation, feed force, and bit selection |
Important: A wear pattern narrows down the possibilities; it does not confirm the root cause by itself. For example, heat checking should not automatically be attributed to insufficient airflow. Confirm the likely cause through inspection and operating records before changing the drilling setup.
How to Reduce DTH Drill Bit Wear and Cost per Meter
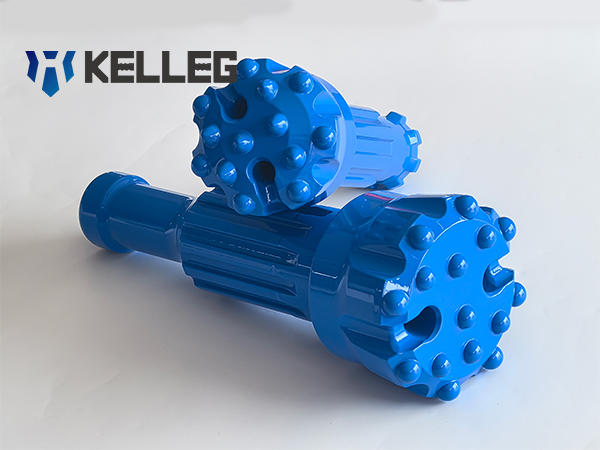
Extending bit life is useful only if the overall drilling result remains economical. A bit that lasts longer but drills much more slowly may not offer the lowest cost per meter.
The most useful comparison combines bit life, drilling performance, and the costs directly associated with using and maintaining the bit.
1. Establish a Baseline
Before changing the bit or drilling settings, record the following information:
- DTH bit model, diameter, and shank type.
- DTH hammer model.
- Rock formation and available abrasiveness data.
- Actual rotation speed, feed pressure or force, working air pressure, and available airflow.
- Total drilled meters and penetration rate.
- Wear pattern and reason for replacement.
- Regrinding history, where applicable.
Without a baseline, it is difficult to determine whether a new carbide grade or bit design actually improves performance.
2. Calculate the Cost per Meter
A basic bit-related cost calculation is:
Cost per meter = (Bit purchase cost + Regrinding cost + Other attributable costs) ÷ Total drilled meters
For example, assume two bit options are tested under comparable conditions.
| Item | Bit A | Bit B |
|---|---|---|
| Purchase cost | $180 | $240 |
| Drilled meters | 600 m | 1,000 m |
| Regrinding cost | $0 | $20 |
| Bit-related cost per meter | $0.30/m | $0.26/m |
In this illustrative example, Bit B costs more to purchase but has a lower bit-related cost per meter.
These figures are examples only, not actual product performance data or a guarantee of service life.
For a fuller economic comparison, include attributable replacement labor, downtime, and other relevant costs when reliable data are available. Use consistent cost definitions and avoid counting the same expense twice.
3. Compare Drilling Performance, Not Just Bit Price
When comparing DTH bits, consider:
- Total drilled meters before the bit reaches its replacement limit.
- Penetration rate under comparable conditions.
- Wear consistency and the reason for removal.
- Regrinding eligibility and associated costs.
- The effect on overall drilling productivity.
A low-priced bit may become expensive if it needs frequent replacement. Conversely, a long-life bit may not be the most economical choice if its penetration rate is significantly lower.
The best choice is the bit that meets the required drilling performance and quality while delivering an acceptable total cost per meter.
DTH Drill Bit Maintenance Checklist: A Field SOP
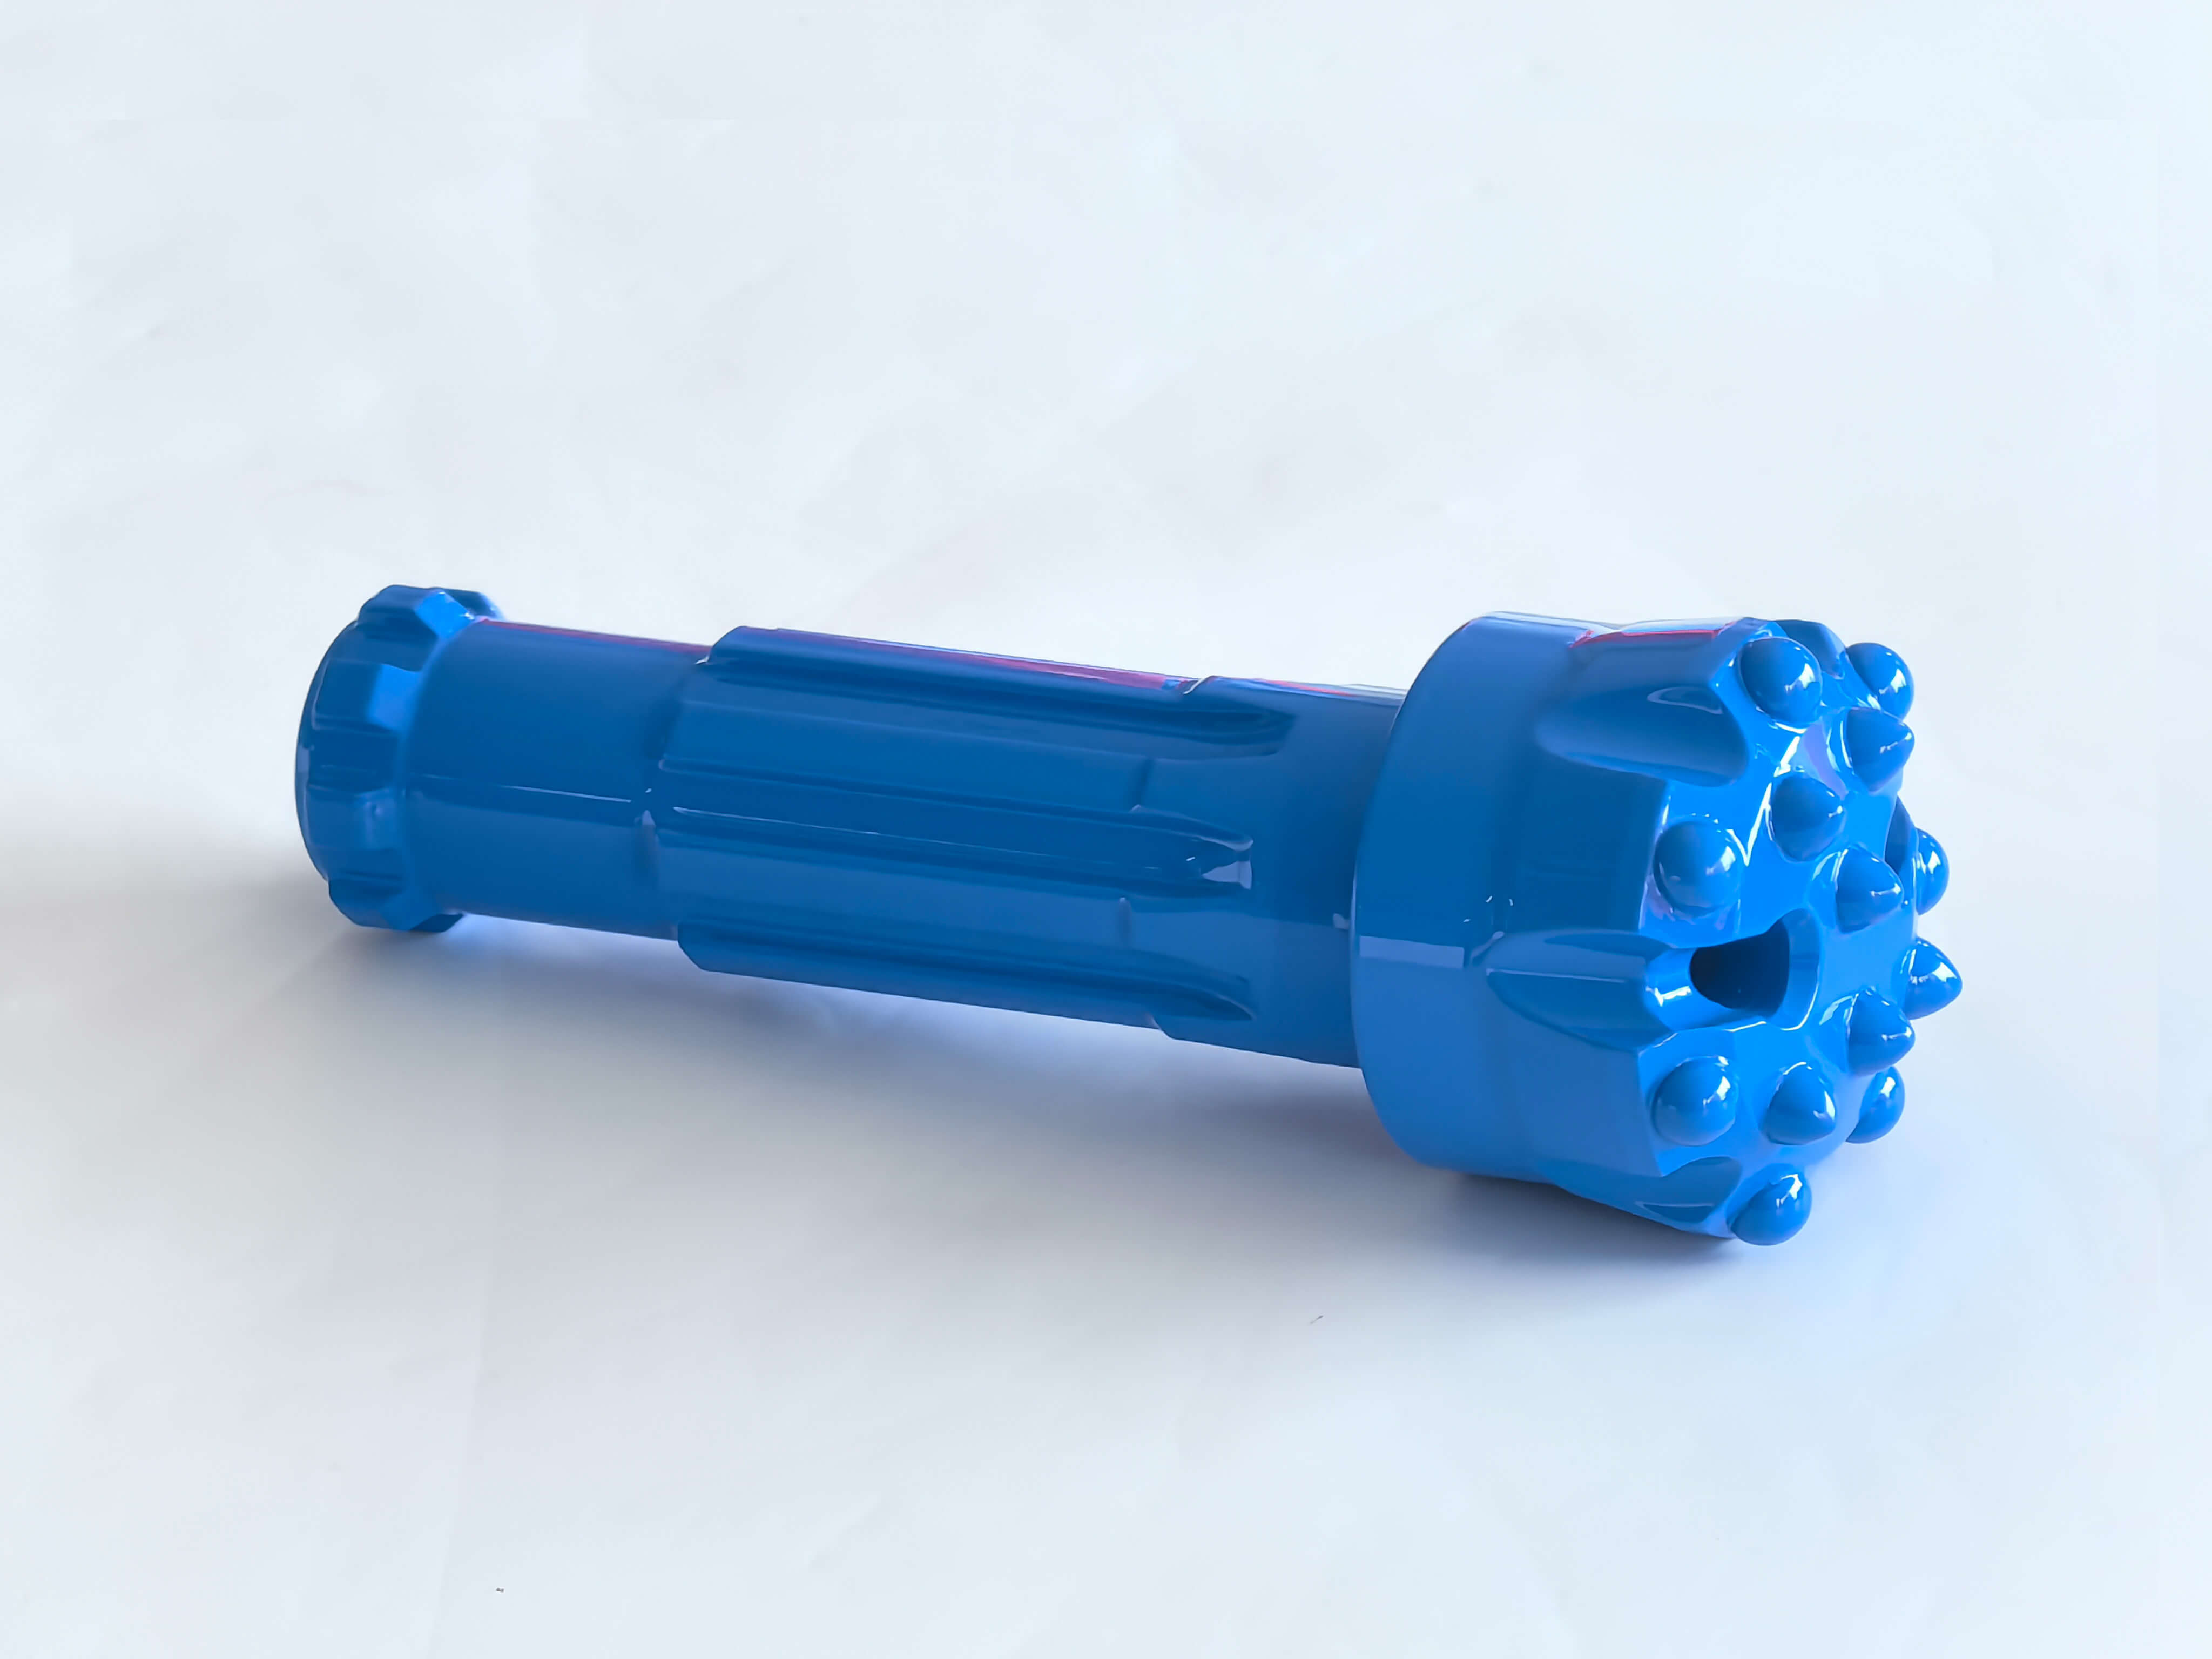
A consistent inspection routine helps identify abnormal wear before it becomes a repeated procurement problem.
Step 1: Before Drilling
- Confirm that the bit diameter and shank are compatible with the DTH hammer.
- Verify the air supply and operating conditions against manufacturer requirements.
- Inspect the buttons, button seats, skirt body, and flushing hole.
- Record the initial bit condition and starting drilled meters.
- Confirm the recommended operating settings for the drilling setup.
Step 2: During Drilling
- Monitor rotation speed and feed force or pressure.
- Check whether cuttings return remains consistent with the drilling conditions.
- Record significant changes in penetration rate or drilling stability.
- Reassess operating conditions when the rock formation changes.
- Investigate abnormal wear rather than compensating automatically with higher feed pressure.
Step 3: At Inspection Intervals
- Remove accumulated rock debris and contamination before inspection.
- Examine button profiles for flat wear, chipping, cracking, or looseness.
- Inspect the skirt body, flushing holes, and other areas showing localized erosion.
- Record gauge button diameter and compare it with the applicable wear limits.
- Compare the current condition with the previous inspection and drilled-meter record.
Inspection frequency should increase when conditions are highly abrasive, wear is accelerating, or the consequences of bit failure are significant. Follow the manufacturer's guidance for the specific model.
Step 4: Decide Whether to Regrind or Replace
- Confirm whether the bit is approved for regrinding.
- Check that the buttons and seats remain suitable for further service.
- Use compatible grinding tools and the specified button profile.
- Follow the manufacturer's rejection criteria for cracks, structural damage, and excessive wear.
- Record the maintenance action and subsequent drilling performance.
Do not use a universal flat-wear width or fixed drilled-meter threshold for every DTH bit. The appropriate limit depends on the button design and the manufacturer's requirements.
Step 5: Keep a Bit-Life Record
For each bit, record the model, rock formation, total drilled meters, observed wear pattern, maintenance actions, and final reason for removal.
Over time, these records can reveal whether premature wear is primarily associated with rock conditions, drilling parameters, equipment performance, or bit selection. They also provide a more reliable basis for future purchasing decisions.
Frequently Asked Questions About DTH Drill Bit Wear
Why does my DTH drill bit wear out so quickly in hard rock?
Hard rock can impose high impact loads, but hardness alone does not determine bit wear. Rock abrasiveness, mineral composition, fractures, carbide grade, button geometry, and drilling parameters all affect service life. Inspect the wear pattern and compare actual drilling conditions before selecting a different bit.
Does higher air pressure extend DTH drill bit life?
Not necessarily. Higher air pressure does not automatically mean better flushing or longer bit life. Check the hammer manufacturer's operating requirements, actual airflow, cuttings return, and air-supply restrictions before adjusting the system. The objective is adequate flushing under the actual drilling conditions, not maximum pressure.
What is the correct RPM for a DTH drill bit?
There is no single RPM suitable for every DTH bit. The appropriate rotation speed depends on the bit diameter, hammer, rock formation, and drilling setup. Start with the manufacturer's recommendations and evaluate the effect of adjustments on penetration rate, drilling stability, and button wear.
How much feed pressure should I use for DTH drilling?
The required feed force or pressure depends on the drilling equipment, hammer, bit, and rock conditions. Excessive loading can increase stress on the buttons and seats, while insufficient loading can contribute to unstable contact. Use the manufacturer's recommended operating range and verify changes through field observations.
When should a DTH drill bit be reground?
Regrind only models that are approved for regrinding and remain within the manufacturer's allowable condition. Button wear, changes in penetration rate, and specified wear limits should guide the decision. Bits with unacceptable cracks, damaged button seats, or excessive structural wear should be rejected according to the manufacturer's criteria.
How can I reduce DTH drill bit cost per meter?
Record the purchase cost, total drilled meters, regrinding expenses, and other attributable costs. Compare these figures under similar rock conditions and drilling setups. Also consider penetration rate and replacement frequency, because a longer-lasting bit is not necessarily the most economical option if drilling productivity falls significantly.
Can a different carbide grade reduce premature bit wear?
Yes, a better-matched carbide grade may reduce wear in certain formations. However, selection should consider both wear resistance and toughness, along with button shape, impact loading, and rock abrasiveness. A grade that performs well in abrasive rock may not be the best choice in highly fractured formations.
Need Help Selecting a DTH Drill Bit for Your Rock Formation?
If your DTH drill bits wear out too quickly despite checking the drilling parameters and flushing conditions, it may be time to review the bit design and carbide selection against the actual rock formation.
Kelleg provides DTH drilling tools for different drilling requirements. Sharing your current bit specifications and wear conditions can help establish a more useful starting point for technical discussion.
To help us understand your application, please provide:
- DTH bit model and shank type
- Required hole diameter
- DTH hammer model
- Rock formation and drilling conditions
- Current bit life in drilled meters
- Photos showing the worn buttons, skirt, or flushing passages
- Working air pressure and available airflow, if known
Our team can review the information with you to discuss suitable bit options and the checks needed to narrow down the likely cause of premature wear.
Extending DTH bit life starts with identifying why the bit is wearing out. By combining wear-pattern inspection, appropriate drilling parameters, effective flushing, and rock-matched carbide selection, drilling teams can make better maintenance and purchasing decisions—and evaluate improvements using cost per meter rather than purchase price alone.