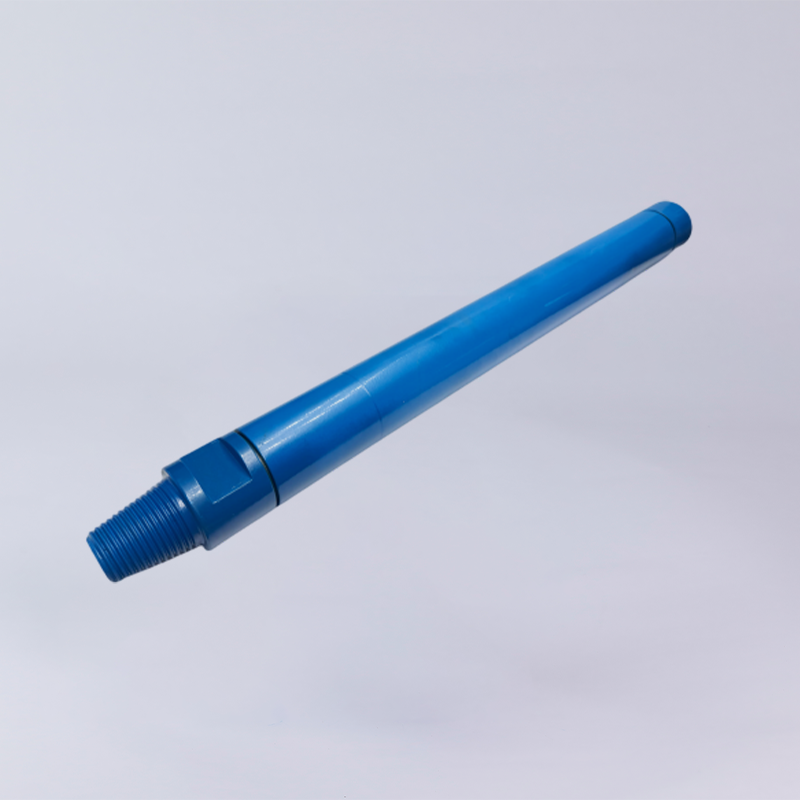
A DTH hammer that suddenly loses impact power will usually show up as a drop in penetration rate, weaker hammering, unstable drilling, or difficulty breaking hard rock. Before replacing the entire hammer, check the compressed-air supply, drilling parameters, bit condition, flushing hole, lubrication, and wear of the internal hammer components.
The most common causes include low operating pressure or insufficient airflow, excessive wear of the piston, driver sub or drill bit, incorrect feed force or rotation speed, contamination inside the hammer, poor lubrication, excessive water injection, blocked flushing passages, and check-valve or blow-tube problems.
A useful field rule is:
Check the air supply first, then drilling parameters, bit and flushing condition, lubrication, and finally the internal hammer components.
Low penetration does not automatically mean that the hammer itself has lost impact power.
How to Tell If a DTH Hammer Is Actually Losing Impact Power
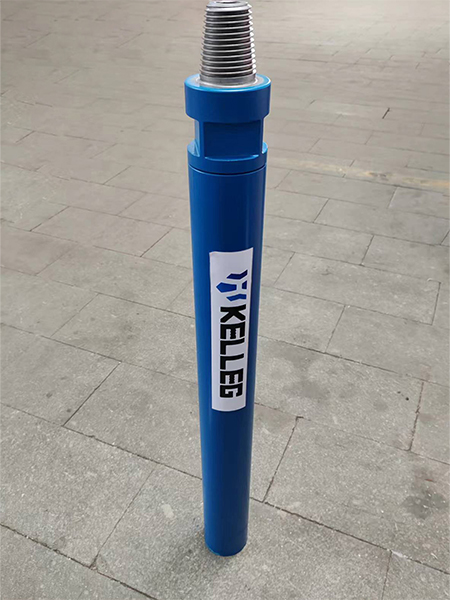
A DTH hammer can appear to be weak for several different reasons. A worn drill bit, insufficient feed force, poor flushing, or low air pressure can all reduce penetration even when the piston is still functioning correctly.
Typical signs include:
- Penetration rate drops suddenly or gradually.
- The hammer sounds weaker than normal.
- The bit struggles to break hard rock.
- Drilling becomes slow despite apparently normal rotation.
- Hammer operation becomes intermittent or erratic.
- The drilling tool produces unusual vibration or squealing.
- Cuttings are not returning effectively.
- The hammer stops operating in the hole.
- The bit appears to run off the bottom or back-hammer.
Weak Impact vs. Low Penetration
Low penetration is a symptom, not a diagnosis.
For example, low penetration can result from:
- Low operating pressure
- Insufficient airflow
- Excessive bit wear
- Low rotation speed
- Incorrect feed force
- Contamination inside the hammer
- Worn hammer components
- Excessive water injection
- Incorrect choke selection
- Poor flushing
This is why increasing feed pressure or replacing the hammer immediately is not always the right solution.
Main Causes of Weak DTH Hammer Impact
1. Air Supply and Power Delivery Problems
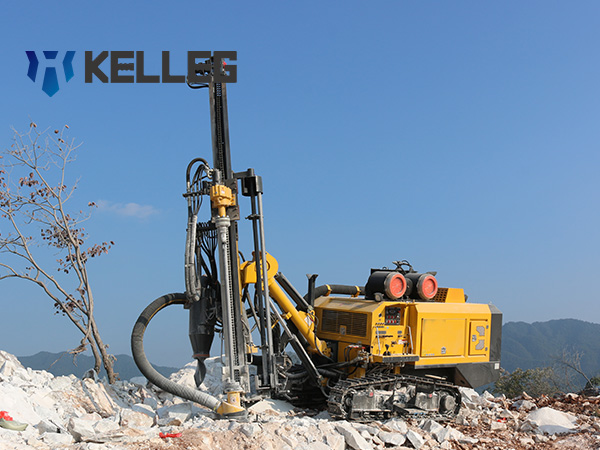
Compressed air is the power source of a pneumatic DTH hammer. If the hammer does not receive sufficient pressure or airflow, the piston cannot operate as intended, and penetration can fall rapidly.
Low Operating Pressure
Low operating pressure is one of the first things to check when penetration drops.
Possible causes include:
- Compressor output is insufficient.
- Air pressure falls under drilling load.
- Air leaks occur in hoses or connections.
- Air supply lines are restricted.
- The selected hammer requires more airflow than the compressor can deliver.
- The choke configuration is incorrect.
Do not check only the compressor pressure while the drilling system is idle. What matters is the air supply available to the hammer under actual drilling conditions.
Field check:
- Check compressor operation.
- Check pressure during drilling.
- Inspect hoses and connections for leaks.
- Check the air supply line for restrictions.
- Confirm that the compressor has sufficient delivered airflow for the selected hammer.
- Check the choke configuration.
Required airflow varies according to hammer size, operating pressure, bit diameter and drilling conditions. Use the applicable hammer manufacturer's specifications rather than applying one CFM value to every DTH hammer.
Insufficient Airflow
Pressure and airflow are related, but they are not exactly the same problem.
A system may show acceptable pressure while still suffering from restricted airflow. Hose restrictions, leaks, an unsuitable compressor, or an incorrect choke can reduce the amount of air available to operate the hammer and flush cuttings.
If the hammer becomes weak and cuttings are also returning poorly, investigate the complete air and flushing system rather than looking only at the pressure gauge.
Wrong Choke Size or Missing Choke
Incorrect choke selection can contribute to low penetration.
If the hammer is fitted with the wrong choke or the required choke is missing, the hammer may not operate within its intended air-flow conditions.
Action:
Check the choke size against the hammer manufacturer's specification and change it when required.
Excessive Water Injection
Too much water can also affect hammer performance.
The supplied failure data identifies excessive water injection as a cause of:
- Low penetration rate
- Erratic operation
- Back hammering
If water injection is excessive, reduce it to an appropriate level for the drilling and flushing conditions.
2. Internal Mechanical Wear Can Reduce Effective Impact
If the air supply is normal but the hammer remains weak, inspect the hammer itself.
The piston, driver sub, wear sleeve, check valve, and other internal components all have defined service limits. Excessive wear can reduce the efficiency and stability of the impact system.
Worn or Damaged Piston
The piston transfers the hammer's impact energy toward the drill bit. A damaged or excessively worn piston can therefore cause poor impact performance.
Several piston-related problems:
- Broken striking face
- Cracked piston
- Broken piston
- Corrosion
- Galling
- Sticking
- Lack of lubrication
A damaged striking face is particularly important because it directly affects impact transfer.
Check:
- Piston striking face
- Signs of cracking
- Corrosion
- Galling
- Excessive wear
- Evidence of contamination
- Piston dimensions against the applicable service limit
Piston Blow-by and Excessive Internal Clearance
Internal wear can also affect how efficiently compressed air drives the piston.
When critical internal clearances become excessive, part of the compressed air can bypass the intended piston movement rather than contributing efficiently to the hammer cycle. This type of leakage is commonly described as blow-by.
However, there is no universal piston clearance value that applies to every DTH hammer.
Internal clearance must be checked against the service specification for the specific hammer model.
Do not replace a piston simply because it looks worn. Measure critical dimensions where applicable and compare them with the manufacturer's service or discard limits.
Worn Driver Sub
The driver sub transfers torque and works directly with the drill bit.
The supplied failure data identifies:
- Excessive spline wear
- Excessive driver sub wear
- Excessive movement
- Insufficient lubrication
- Excessive bit wear
- Insufficient feed force
A worn driver sub can reduce the effectiveness of the hammer-bit connection and create excessive movement.
Field checks include:
- Inspect spline condition.
- Check driver sub length.
- Look for excessive movement.
- Inspect for galling or abnormal wear.
- Check whether the bit is also excessively worn.
If the driver sub is below the applicable service dimension, replace it rather than continuing to drill until failure.
Worn Wear Sleeve
A damaged or excessively worn wear sleeve can create additional mechanical problems inside the hammer.
The supplied information identifies:
- Wear sleeve cracking
- Excessive wear
- Corrosion
- Incorrect gripping during maintenance
A worn sleeve should be replaced when its outside diameter reaches the applicable discard limit.
3. Drill Bit Wear Can Make a Good Hammer Look Weak
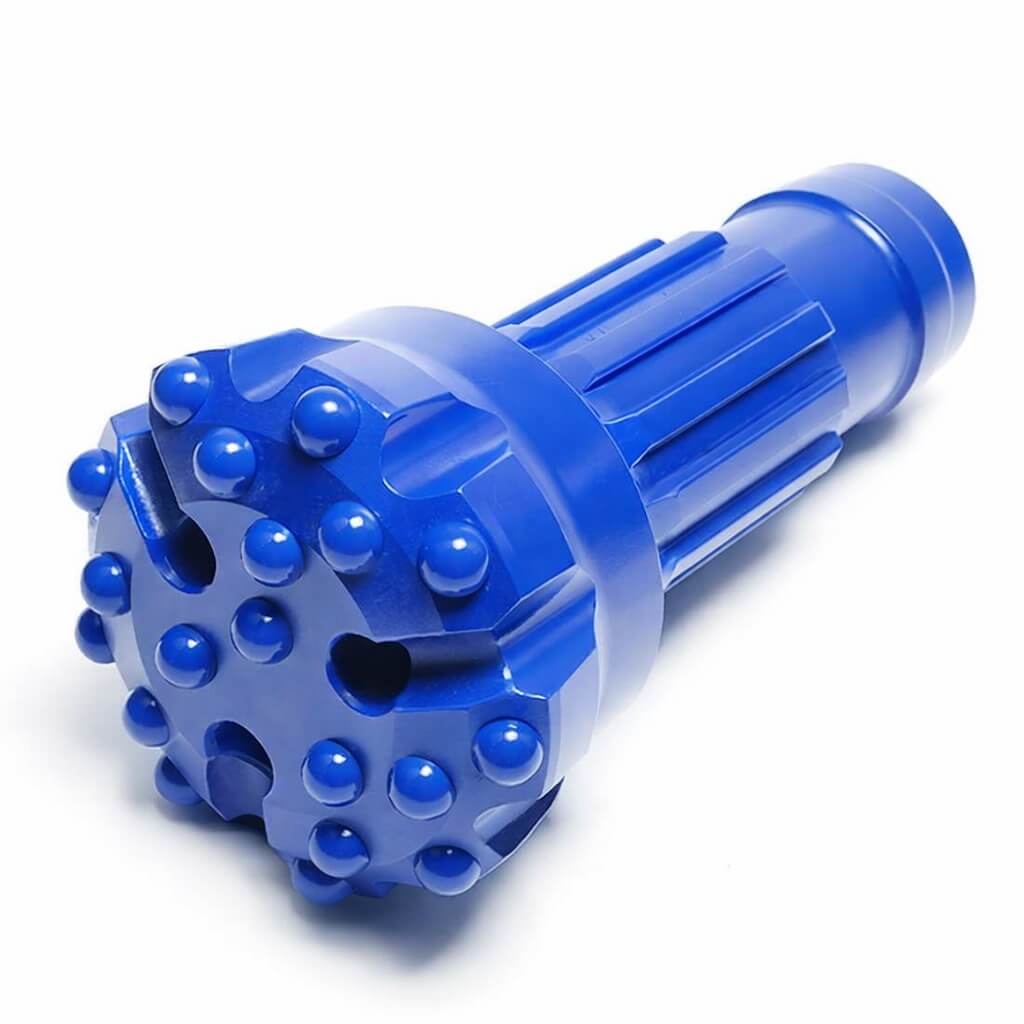
A worn DTH bit is one of the easiest causes of low penetration to overlook.
The hammer may still be operating normally, but a severely worn bit cannot break rock as effectively as a properly maintained bit.
Check for:
- Worn carbide buttons
- Missing buttons
- Damaged bit face
- Excessive bit wear
- Blocked flushing holes
- Worn blow tube
- Excessive spline wear
If the bit is dull, sharpen the buttons when appropriate or replace the bit.
Why a Worn Bit Can Feel Like Weak Hammer Impact
The hammer provides impact energy, but the bit has to transfer that energy into the rock.
If the buttons are badly worn, the energy transfer into the rock becomes less effective. The result can feel exactly like a weak hammer:
The hammer is operating, but the drilling system is no longer converting impact energy into penetration efficiently.
This is why bit inspection should happen before opening the hammer.
Feed Force and Rotation Problems
The hammer needs the correct combination of feed force and rotation to maintain stable contact with the rock.
More feed pressure is not always better.
More RPM is not always better either.
The correct setting depends on the hammer, bit, rock conditions, and drilling system.
Insufficient Feed Force
Insufficient feed force to:
- Low penetration
- Broken piston striking face
- Excessive driver sub spline wear
- Vibration and squealing
If feed force is too low, the bit may not maintain the contact required for efficient impact transfer.
A practical field approach is to increase feed force gradually until the hammer and bit maintain smooth, stable drilling.
Do not simply apply maximum feed force.
Excessive Feed Force
Excessive feed force can also create problems.
Excessive feed force can cause:
- Erratic hammer operation
- Rotation problems
- Difficulty uncoupling the driver sub
- Hammer deviation during collaring
If drilling becomes unstable, reduce feed pressure and observe whether the hammer returns to smooth operation.
Incorrect Rotation Speed
Rotation speed should be adjusted to the bit diameter, rock condition, and hammer.
Rotation too slow:
- Low penetration
- Erratic operation
Rotation too high:
- Vibration
- Squealing
- Unstable drilling
The goal is not maximum RPM. The goal is stable drilling with effective bit coverage and cuttings removal.
Lubrication, Contamination and Flushing Problems
Even when air pressure and drilling parameters are correct, poor lubrication or contamination can cause hammer performance to deteriorate.
Insufficient Hammer Oil
Lack of lubrication can cause:
- Driver sub-spline wear
- Piston corrosion
- Galling
- Piston cracking
- Premature component failure
The correct type and quantity of hammer oil should be used.
Do not assume that adding more oil will automatically improve performance. The lubrication system must deliver the appropriate amount of the correct oil.
Where applicable, inspect whether an effective oil film is being developed through the hammer's lubrication passages.
Contamination Inside the Hammer
Particles and debris inside the hammer can interfere with internal component movement and airflow.
Contamination as a cause of:
- Low penetration
- Broken piston components
- Hammer malfunction
If contamination is suspected:
- Open the hammer.
- Clean internal components.
- Inspect the piston.
- Inspect the wear sleeve.
- Check the driver sub.
- Inspect the check valve.
- Compare critical dimensions with service or discard limits.
Do not continue drilling with a contaminated hammer simply by increasing feed force.
Check Valve Problems
A malfunctioning check valve can contribute to hammer problems and is specifically identified as a cause of broken piston striking faces.
If the check valve is not functioning correctly, inspect and replace it as required.
Blocked Bit Flushing Holes
A DTH hammer needs effective flushing to remove drilled cuttings.
Blocked flushing holes can contribute to hammer malfunction and poor cuttings removal.
Inspect the bit when:
- Cuttings stop returning normally.
- Penetration suddenly falls.
- Hammer operation becomes unstable.
- The hammer stops operating in the hole.
Clean the flushing passages or replace the bit when necessary.
DTH Hammer Losing Impact Power: Diagnostic Matrix
| Field Symptom | Possible Cause | How to Check on Site | Corrective Action |
|---|---|---|---|
| Penetration suddenly drops | Low operating pressure | Check compressor and pressure under drilling load | Check compressor, leaks and air supply |
| Hammer sounds weak | Air supply problem or internal wear | Check pressure first, then inspect hammer | Restore air supply or inspect worn components |
| Low penetration with a worn bit | Excessive bit wear | Inspect carbide buttons and bit face | Grind or replace the bit |
| Hammer operates erratically | Excessive feed force, low RPM, excessive water or worn components | Check feed, rotation and water injection | Adjust parameters and inspect hammer |
| Strong vibration or squealing | Low feed force, excessive rotation or worn bit | Observe drilling behavior and inspect bit | Adjust feed/RPM and service bit |
| Hammer stops in the hole | Broken/worn parts, insufficient air or blocked flushing | Check compressor, bit and hammer | Clean, repair or replace damaged parts |
| Bit runs off bottom | Worn piston, excessive water or spline debris | Inspect piston and splines | Reduce water, clean hammer and inspect components |
| Cuttings do not return properly | Low air pressure, slow up-hole velocity, fissures or debris buildup | Check air pressure and flushing | Restore airflow and improve flushing |
| Driver sub shows excessive wear | Lack of lubrication, excessive movement or worn bit | Inspect splines and driver sub length | Lubricate and replace worn components |
| Piston repeatedly fails | Poor lubrication, contamination or sticking | Inspect lubrication and internal condition | Correct lubrication and clean/repair hammer |
| Hammering without stable rotation | Incorrect operating procedure | Observe drilling cycle | Maintain rotation while hammering |
| Bit and driver sub become stuck or lost | Hammering without rotation, worn driver sub or incorrect torque | Inspect connection and operating procedure | Maintain rotation and replace worn parts |
Step-by-Step DTH Hammer Troubleshooting Procedure
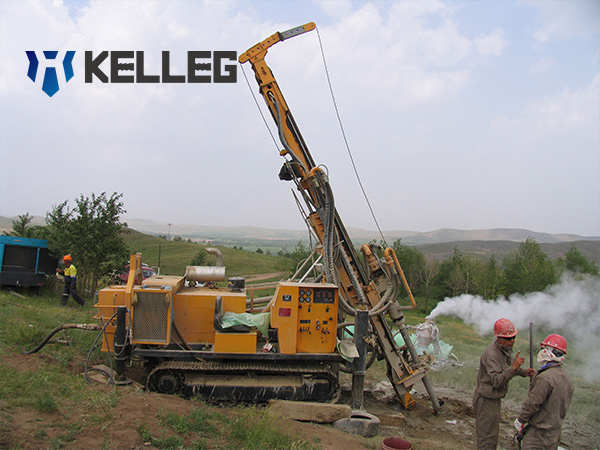
When a DTH hammer becomes weak, follow a fixed inspection sequence instead of changing several variables at the same time.
Step 1: Check the Air Supply
Start with the easiest external checks.
Check:
- Compressor operation
- Operating pressure
- Air leaks
- Air hoses
- Air supply restrictions
- Choke configuration
If air supply is inadequate, fix this before opening the hammer.
Step 2: Check Feed Force and Rotation
Confirm:
- Feed force is appropriate for the rock condition.
- Rotation is stable.
- Rotation speed is not excessively low or high.
- The hammer is not operating without rotation.
- The bit maintains stable contact with the bottom.
If drilling becomes erratic, adjust feed and rotation before assuming the hammer has failed.
Step 3: Inspect the Drill Bit
Remove and inspect the bit when necessary.
Check:
- Button wear
- Broken or missing buttons
- Bit face
- Flushing holes
- Blow tube
- Splines
A worn bit should be sharpened or replaced as appropriate.
Step 4: Check Lubrication and Water Injection
Confirm:
- Hammer oil type
- Oil supply
- Oil quantity
- Lubrication system condition
- Water injection level
Excessive water injection should be reduced when it is contributing to unstable hammer operation or poor penetration.
Step 5: Inspect the Hammer Internally
If the external checks are normal but impact remains weak, open the hammer.
Inspect:
- Piston
- Striking face
- Driver sub
- Wear sleeve
- Check valve
- Blow tube
- Internal contamination
- Evidence of galling or corrosion
Step 6: Compare Critical Components With Service Limits
Do not judge hammer condition by appearance alone.
Measure critical components where required and compare the results with the applicable service or discard limits for the specific hammer model.
This is especially important for:
- Piston dimensions
- Driver sub length
- Wear sleeve dimensions
- Spline wear
- Other manufacturer-defined internal clearances
How to Prevent DTH Hammer Impact Loss
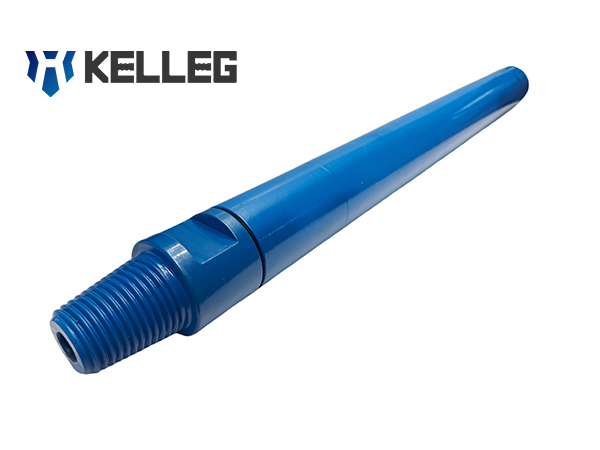
Preventive maintenance is much cheaper than diagnosing a hammer after it has failed in the hole.
Before Each Shift
Use this checklist:
- Check compressor operation.
- Check air pressure.
- Check for air leaks.
- Check hammer oil supply.
- Check water injection.
- Inspect drill bit condition.
- Confirm feed and rotation settings.
- Check visible hammer connections.
During Drilling
Monitor:
- Penetration rate
- Hammer sound
- Rotation stability
- Feed force
- Air pressure
- Cuttings return
- Water injection
- Abnormal vibration
A change in hammer sound or penetration rate is often an early warning that something needs attention.
After Drilling
Before storing or reinstalling the hammer:
- Flush the hammer properly.
- Remove contamination.
- Check lubrication condition.
- Inspect the bit.
- Inspect the driver sub.
- Check for damaged components.
- Record abnormal drilling behavior.
If the hammer has been exposed to water or corrosive conditions, appropriate cleaning and corrosion protection are also important.
When Should You Replace the DTH Hammer or Drill Bit?
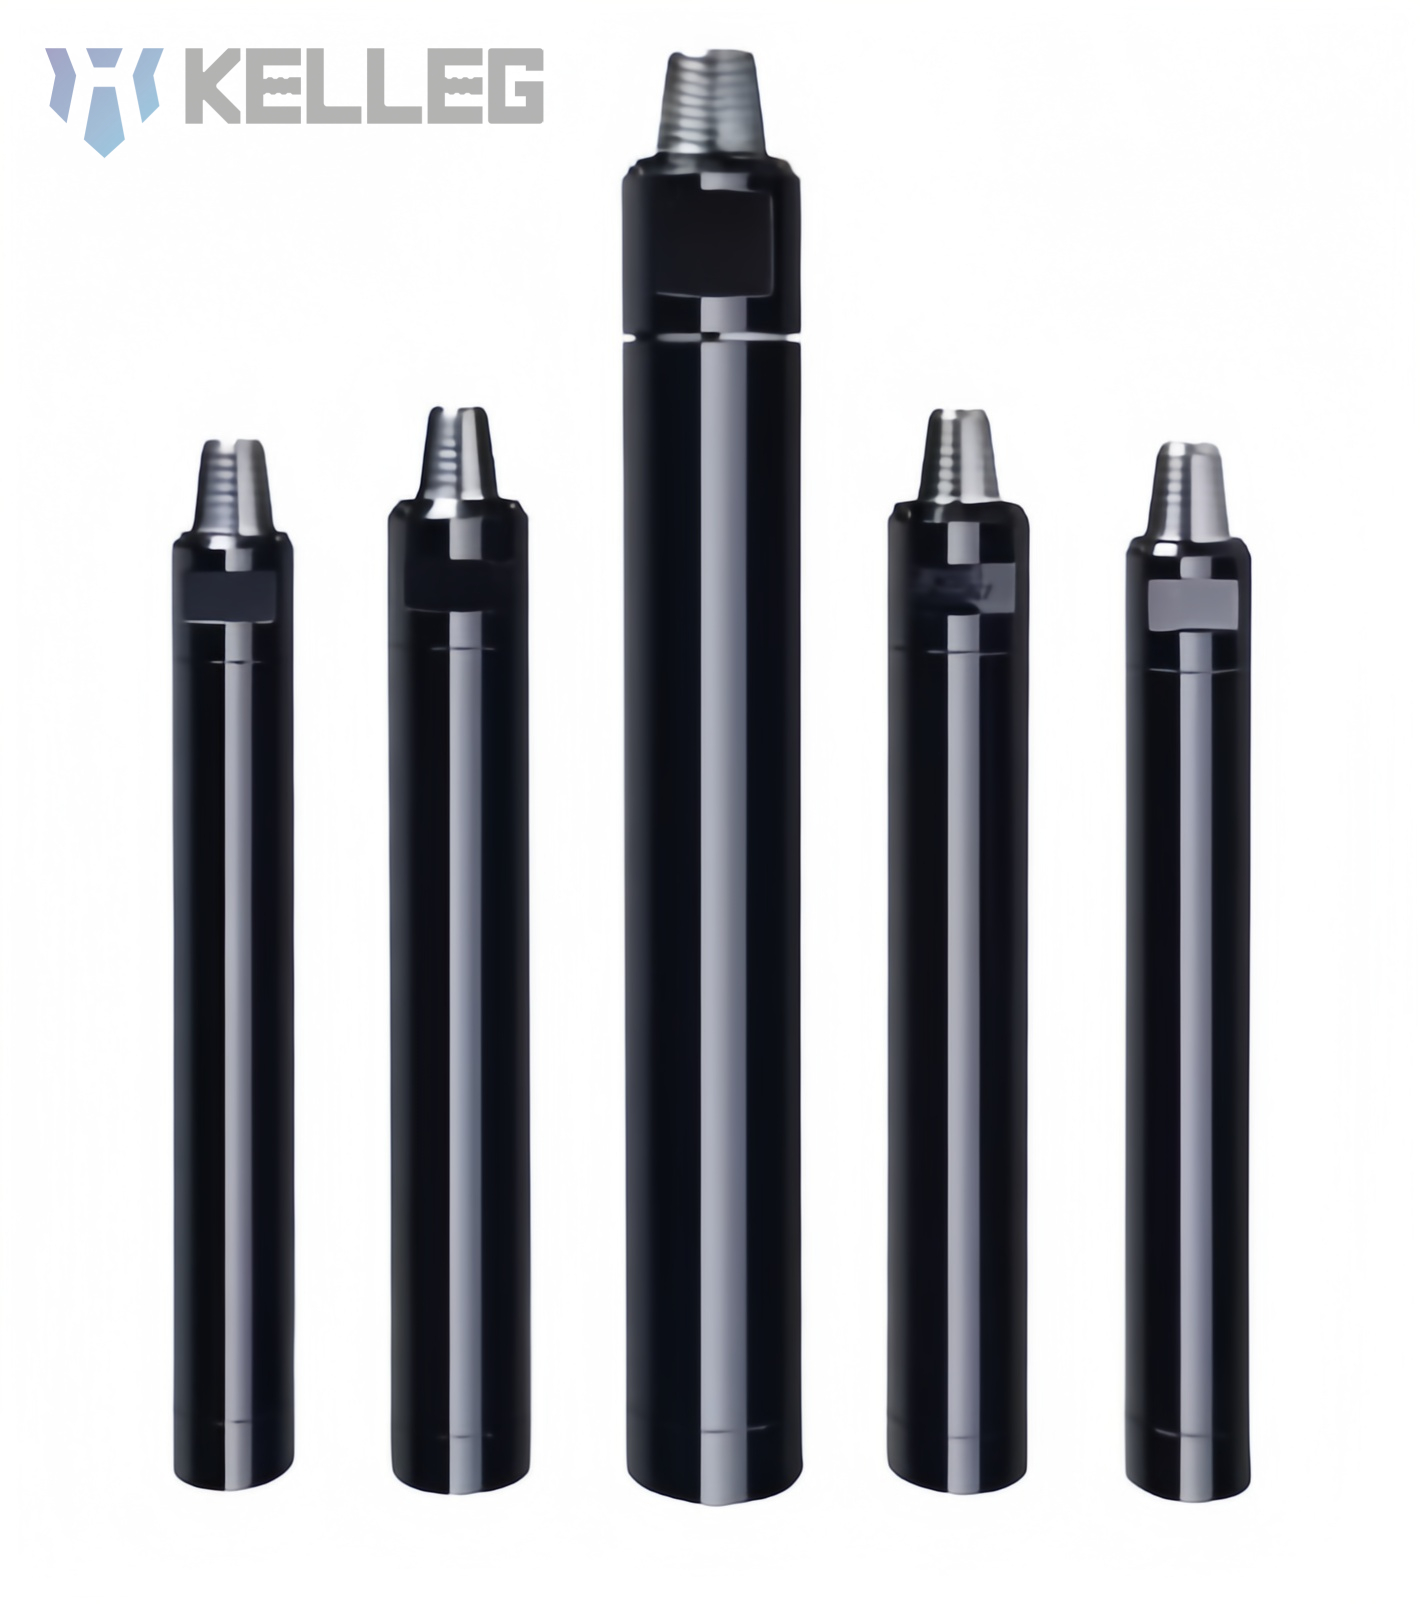
Low penetration or weak impact does not automatically mean that the complete DTH hammer needs to be replaced.
Before making a replacement decision, check the air supply, drilling parameters, flushing condition, and drill bit first. A worn drill bit can make a properly operating hammer appear weak, while a worn internal hammer can continue to cause poor performance even after the bit is replaced.
Replace the DTH Drill Bit When:
- Carbide buttons are excessively worn or damaged.
- Buttons are broken or missing.
- Bit flushing holes are blocked or damaged.
- The bit has reached its practical service limit.
- Penetration remains poor despite suitable air pressure and stable drilling parameters.
- The bit shows excessive wear that affects rock-breaking efficiency.
A worn bit can significantly reduce penetration even when the DTH hammer is still operating normally. Check the bit condition before deciding that the hammer itself has failed.
Consider Replacing the DTH Hammer When:
- Critical internal components are severely worn or damaged.
- The hammer continues to operate poorly after air supply, drilling parameters, and bit condition have been checked.
- Internal components have exceeded the applicable service or discard limits.
- The hammer shows repeated operational problems under suitable drilling conditions.
- The existing hammer is no longer suitable for the required hole diameter or working air pressure.
- Restoring reliable drilling performance is no longer economical.
The replacement decision should be based on the actual condition of the hammer and bit, drilling requirements, and expected operating performance—not simply on the age of the equipment.
Check Hammer and Bit Compatibility
Before ordering a replacement DTH hammer or bit, verify the complete drilling-tool combination:
- DTH hammer model or shank type
- Compatible DTH bit shank
- Required hole diameter
- Working air pressure
- Drill pipe thread
- Rock or formation condition
- Drilling application and required depth
A hammer and bit should be selected as a compatible combination rather than as two separate products.
How to Select the Right DTH Hammer and Drill Bit
If the existing hammer or bit needs to be replaced, selection should start with the actual drilling conditions rather than only the required hole diameter.
Match the DTH Hammer to the Drilling Conditions
Important selection factors include:
- Required hole diameter
- Available working air pressure
- Compressor capacity
- Rock hardness and formation characteristics
- Drilling depth
- Drilling application
The required airflow and operating pressure vary between DTH hammer models. Always compare the available compressor performance with the hammer's recommended operating range before selecting a hammer.
Match the DTH Bit to the Hammer
The DTH bit must match the hammer shank and the required hole diameter.
When selecting a bit, also consider:
- Rock formation
- Button configuration
- Face design
- Flushing requirements
- Expected drilling performance and bit life
If you are unsure which DTH hammer or bit is suitable, providing the existing hammer model, bit information, and drilling conditions can make the selection much more accurate.
FAQ
Why is my DTH hammer losing impact power?
The most common causes are insufficient air pressure or airflow, worn hammer components, excessive bit wear, incorrect feed or rotation parameters, contamination, poor lubrication, excessive water injection, blocked flushing passages, and check-valve or blow-tube problems.
Low penetration is a symptom, not a diagnosis. Check the air supply and drilling parameters first, then inspect the bit, flushing condition, and hammer condition.
Can low air pressure make a DTH hammer lose impact?
Yes. Insufficient operating pressure can reduce hammer performance and penetration rate.
Check the pressure and airflow delivered to the hammer under actual drilling conditions rather than checking compressor pressure alone. Pressure losses can occur through the compressor system, hoses, pipes, connections and drilling conditions.
Can a worn piston cause weak DTH hammer impact?
Yes. A worn or damaged piston can reduce effective impact transmission and may cause abnormal hammer operation.
If internal wear is suspected, inspect the piston and compare its dimensions with the applicable hammer service or discard limits. Do not use a universal clearance value because internal dimensions and service limits vary by hammer model.
Can a worn drill bit make a DTH hammer seem weak?
Yes. A worn bit can reduce rock-breaking efficiency even when the hammer itself is operating normally.
Check carbide button wear, damaged or missing buttons, flushing holes, and the overall bit condition before assuming that the hammer needs to be replaced.
Should I increase feed pressure when the DTH hammer is weak?
Not automatically.
Insufficient feed force can reduce drilling efficiency, but excessive feed force can also cause erratic operation, excessive component loading and other failures.
Adjust feed force according to rock conditions and stable drilling behavior. The objective is to maintain consistent hammering, rotation and penetration—not simply to apply more feed pressure.
When should I replace a DTH hammer?
Consider replacing the complete hammer when critical internal components are severely worn or damaged, the hammer continues to perform poorly after external causes have been eliminated, or restoring reliable performance is no longer economical.
If the problem is primarily related to the drill bit, replacing the hammer may not solve the drilling problem. Always check the bit, air supply and drilling parameters before making a complete hammer replacement decision.
Need Help Choosing the Right DTH Drilling Tools?
If your DTH hammer is losing impact power, replacing the hammer is not always the first step. Check the air supply, drilling parameters, flushing condition and drill bit before making a replacement decision.
If the hammer or bit needs to be replaced, send us the following information:
- DTH hammer model or shank type
- Required hole diameter
- Working air pressure
- Drill pipe thread
- Rock or formation condition
- Current drilling problem
- Photos of the existing hammer or drill bit, if available
- Required quantity
Kelleg supplies DTH hammers and DTH drill bits for different hole sizes, drilling conditions and applications. Based on the information provided, we can help identify a suitable DTH hammer and drill bit combination.
Need to replace a DTH hammer or bit? Send us your hammer model, hole diameter, working pressure and drilling conditions to discuss the suitable DTH drilling tools.