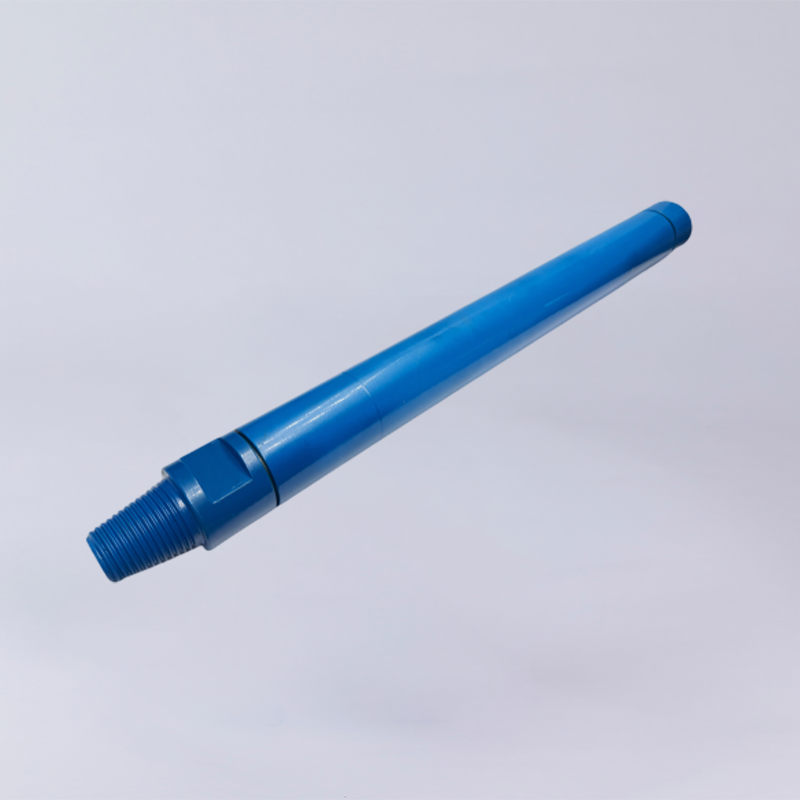
A DTH hammer that receives compressed air but fails to impact can have a problem with the air supply, internal air passages, lubrication, or piston assembly. Replacing the DTH hammer without checking these parts first can lead to unnecessary repair costs and repeated downtime.
The fastest way to diagnose a DTH hammer that is not hitting is to work through three stages: check the air supply, inspect the air path and lubrication, then examine the internal mechanical components. This sequence helps isolate the fault before dismantling the hammer or ordering replacement parts.
This guide explains the most common causes of a DTH hammer not impacting, the checks to perform at each stage, and when components such as the piston, check O-rings, or retaining rings may need replacement.
Quick Diagnostic Table: Why Is Your DTH Hammer Not Impacting?
| Symptom | Possible Cause | Diagnostic Action | Solution |
|---|---|---|---|
| Hammer does not impact at all | Insufficient operating pressure or airflow | Measure pressure at the hammer inlet and verify compressor airflow | Correct the air supply or compressor setup |
| Air is coming out, but the hammer does not strike | Restricted air passages or an internal air-control fault | Inspect the air path, choke configuration, and applicable components | Clean or replace confirmed faulty components |
| Hammer starts and stops intermittently | Unstable air supply, restriction, or internal wear | Monitor inlet pressure during operation and inspect connections | Correct the supply fault or repair the affected component |
| Hammer stops working after a period of operation | Lubrication problems, contamination, or mechanical binding | Check the air line oiler and inspect for heat damage or abnormal wear | Correct lubrication and replace damaged components if necessary |
| Flushing is weak and impact performance deteriorates | Blocked exhaust passages or excessive backpressure | Inspect the bit exhaust holes and assess borehole conditions | Clean or replace the affected components |
| Piston cannot move freely during inspection | Scoring, contamination, heat damage, or incorrect clearance | Inspect the piston and mating surfaces against OEM specifications | Piston and any damaged mating components |
| Hammer performance is poor with visible bit shank damage | Worn strikeface, damaged bit shank, or retaining components | Inspect contact surfaces and measure the specified clearances | Compatible DTH bit or confirmed damaged components |
Important: These symptoms indicate possible causes, not definitive diagnoses. For example, air escaping from the hammer does not prove that the piston is cycling correctly. Confirm the air supply and the model-specific internal air path before concluding that a piston has failed.
Check the Air Supply Before Dismantling the DTH Hammer
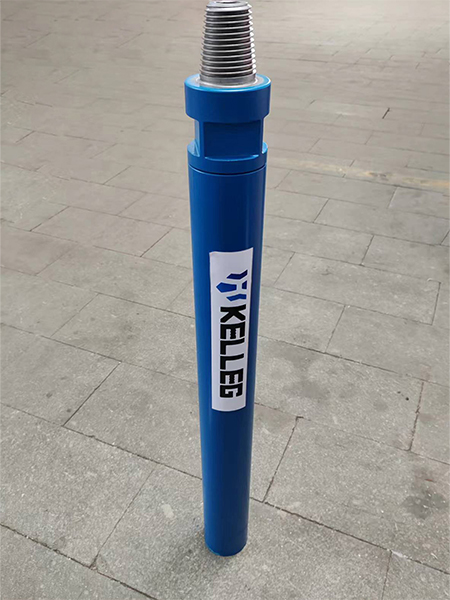
Insufficient pressure or airflow is one of the first possibilities to investigate when a DTH hammer stops impacting. A compressor may appear to be operating normally while the pressure or airflow delivered to the hammer is inadequate.
Before opening the hammer, verify that the compressor, air line, drill string, and hammer inlet can deliver the conditions required by the specific hammer model.
Check the Compressor Operating Pressure
Start by checking the actual operating pressure rather than relying only on the compressor gauge when the system is unloaded.
Perform the following checks:
- Record the compressor outlet pressure.
- Measure the pressure as close as practical to the hammer inlet under representative operating conditions.
- Compare the readings with the hammer manufacturer's specified operating pressure range.
- Check whether the pressure drops significantly when air is flowing.
- Inspect the pressure regulator, control valves, and other components that could restrict delivery.
Static pressure and operating pressure are not the same. A system can show an acceptable pressure when no air is flowing but experience a substantial pressure drop when the hammer requires air.
Use the following comparison to guide the diagnosis.
| Observation | What It May Indicate | Next Step |
|---|---|---|
| Pressure is below specification at the compressor outlet | Compressor or upstream supply problem | Check compressor operation and system settings |
| Compressor pressure is acceptable, but hammer inlet pressure is low | Pressure loss in the air line, valves, connections, or drill pipe | Locate the restriction or leakage |
| Pressure is acceptable at the hammer inlet | Low pressure becomes less likely as the primary cause | Verify airflow and continue to the air-path checks |
| Pressure fluctuates significantly during operation | Unstable supply, inadequate capacity, or a restriction | Record operating readings and inspect the supply system |
Do not increase pressure blindly to force the hammer to start. The operating pressure must remain within the manufacturer's limits for the hammer and the complete drilling system.
Verify Compressor Airflow and Air Consumption
Adequate pressure does not automatically mean that the compressor supplies enough air.
The compressor's effective airflow, usually expressed as free air delivery (FAD), must be evaluated at the relevant operating conditions. The hammer's air consumption must also be checked against the manufacturer's specifications.
Check the following:
- Confirm the compressor's effective airflow at the required working pressure.
- Compare the available airflow with the hammer's air consumption requirements.
- Check whether other pneumatic equipment is using air from the same supply.
- Inspect the air hose, drill pipe, and connections for restrictions.
- Check whether long hoses, undersized pipework, or excessive fittings are contributing to pressure loss.
A compressor's advertised maximum airflow may not represent the airflow it can deliver at the pressure required for drilling.
If the compressor cannot maintain the required operating conditions, correct the supply problem before investigating internal hammer components.
For further guidance, read our DTH Drilling Air Consumption: How to Calculate Compressor Requirements
Inspect the Air Hose, Drill Pipe, and Connections
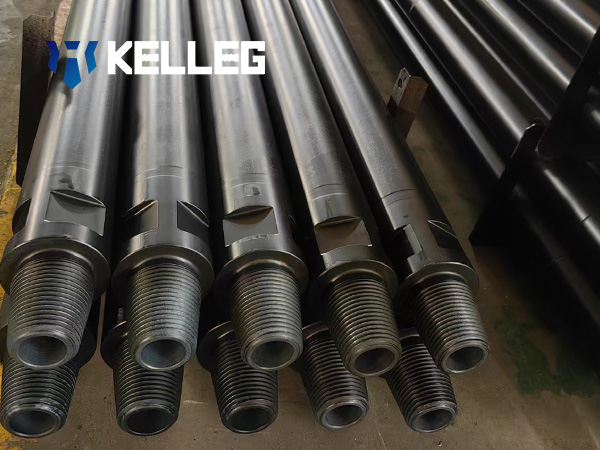
If compressor pressure is satisfactory but pressure at the hammer inlet is too low, inspect the complete delivery path.
Look for:
- Partially closed valves.
- Damaged or undersized air hoses.
- Blocked or contaminated connections.
- Air leaks at joints and fittings.
- Restricted drill pipe passages.
- Excessive pressure loss across regulators or other equipment.
Record pressure at appropriate measurement points to identify where the pressure loss occurs.
Diagnostic rule: If the compressor and delivery system cannot maintain the required operating conditions, resolve that problem before dismantling the hammer. If the supply is adequate, proceed to the internal air-path and lubrication checks.
For other operating symptoms, see our DTH Hammer Troubleshooting Complete Guide.
Inspect the Air Path, Check Valve, and Lubrication System
A DTH hammer needs more than a sufficient volume of compressed air. The air must travel through the correct passages and interact with the hammer's internal components as designed.
If the supply pressure and airflow are within specification, inspect the air path, applicable air-control components, lubrication system, and flushing conditions.
Check for Blocked Air Passages or an Incorrect Choke
A blocked passage or an incorrectly configured choke can restrict airflow even when the compressor is operating correctly.
Inspect accessible connections and air passages for:
- Dirt, debris, or accumulated deposits.
- Incorrectly installed components.
- Damaged or displaced seals that obstruct a passage.
- A choke that does not match the specified hammer configuration.
- Restricted fittings upstream of the hammer.
A choke is a model-specific component. Its function and installation depend on the hammer design, so do not remove, enlarge, or substitute one without checking the manufacturer's instructions.
Before removing or cleaning components, isolate the air supply and confirm that the system is fully depressurized.
If an obstruction is found, remove it using the approved cleaning procedure. Replace damaged components with parts that match the hammer model and specification.
If the passages are clear and the choke configuration is correct, continue to the applicable internal air-control components.
Inspect the Check Valve and Air-Control Components
Not every DTH hammer uses the same check valve or internal air-control arrangement. Confirm the design of your specific model before applying this diagnostic step.
Where a check valve or equivalent component is fitted, inspect it for:
- Sticking or restricted movement.
- Wear, cracks, or other physical damage.
- Debris or contamination.
- Incorrect installation or orientation.
- Damaged sealing surfaces.
- Evidence of abnormal leakage.
A valve that cannot move or seal as intended may interfere with the hammer's designed airflow. However, a lack of impact alone is not enough to confirm a valve failure.
Follow the model-specific service procedure to remove and inspect the component. If it is damaged or fails the manufacturer's inspection criteria, replace it with the correct part.
If the valve and related components are in good condition, check the lubrication system and flushing conditions before moving to internal mechanical inspection.
Check the Air Line Oiler and Lubrication Delivery
Insufficient lubrication can contribute to excessive friction, abnormal wear, and piston binding. Lubrication problems may also be associated with overheating or repeated internal component damage.
Check the air line oiler systematically.
- Confirm that the oiler is operating and delivering lubricant.
- Verify the lubricant type and viscosity against the hammer manufacturer's recommendations.
- Check the oil level and delivery setting.
- Inspect the oil line, fittings, and delivery passages for leaks or blockages.
- Look for evidence of insufficient lubrication during internal inspection.
Do not assume that adding more oil will resolve every impact failure. Excessive or unsuitable lubrication can also create operating problems, and lubricant requirements vary by hammer design and operating conditions.
If the lubrication system is functioning correctly but the hammer still does not impact, inspect the flushing system and consider mechanical causes.
If internal components show scoring, abnormal wear, or heat damage, identify the underlying cause before installing replacement parts. A new piston can suffer repeat damage if the original lubrication or contamination problem remains unresolved.
Check Blow-down, Air Flushing, and Backpressure
Air flushing removes cuttings from the borehole and helps maintain the required operating conditions at the bit. Restricted exhaust passages or poor flushing can contribute to deteriorating performance and, depending on the system, excessive backpressure.
Inspect the following:
- Bit exhaust holes and flushing passages.
- Visible restrictions in the air discharge path.
- Accumulated cuttings or debris around the bit.
- Borehole conditions that could interfere with flushing.
- Signs of excessive backpressure or abnormal air discharge.
Distinguish between a problem in the hammer's internal operating air path and a restriction in the flushing path. They are related but are not the same fault.
If the bit exhaust holes are blocked, clean them according to the manufacturer's procedure. If the bit is damaged or the relevant passages cannot be restored to specification, evaluate the bit for replacement.
If flushing is normal and the hammer still does not impact, move to the mechanical inspection stage.
Inspect the Piston and Internal Mechanical Components
Internal inspection should follow—not replace—the external checks.
If operating pressure, airflow, air passages, lubrication, and flushing conditions have been verified, the next step is to investigate whether the piston and associated components can operate as designed.
Safety warning: Shut down and isolate the air supply before dismantling the hammer. Confirm that all connected equipment is fully depressurized and follow the manufacturer's service manual. Never loosen pressurized connections or dismantle a DTH hammer while it is connected to a live air supply.
Check Whether the Piston Is Stuck
A piston that cannot move as designed may prevent the hammer from producing impact energy. Possible contributing factors include contamination, inadequate lubrication, heat damage, abnormal wear, and incorrect component clearances.
During inspection, check for:
- Scoring or deep scratches on the piston surface.
- Abnormal contact marks or evidence of binding.
- Deposits, dirt, or foreign material.
- Discoloration associated with overheating.
- Deformation or other visible damage.
- Wear on mating surfaces that could affect piston movement.
Inspect the piston and cylinder according to the manufacturer's procedures. Measure the specified clearances using the correct method and compare the results with the applicable service limits.
Do not use a universal clearance value. Acceptable dimensions depend on the hammer design and model.
If the piston is damaged or outside the permitted limits, determine whether it can be repaired or must be replaced. Inspect related components at the same time because damage to the piston may also affect its mating surfaces.
Replacing a piston without addressing the cause of the failure can result in repeated downtime.
Inspect the Strikeface and Bit Shank
The piston strikeface and bit shank are important contact surfaces in the hammer's impact system. Damage or abnormal wear can interfere with the intended transfer of impact energy.
Inspect the following areas:
Piston strikeface
- Cracks, chipping, deformation, or severe wear.
- Abnormal contact patterns.
- Signs of overheating or impact damage.
Bit shank
- Cracks or deformation.
- Excessive wear on the contact surfaces.
- Abnormal impact marks.
- Damage that may interfere with correct seating or movement.
Retaining components
- Worn, cracked, or deformed retaining rings.
- Incorrect installation or damaged retaining grooves.
- Signs that the bit is not being retained as intended.
Where required, measure the bit shank clearance according to the hammer manufacturer's specification. Do not rely on visual inspection alone if the manual requires dimensional checks.
If the strikeface or bit shank is damaged, assess the condition of both mating surfaces before replacing either component. Replacing a damaged bit without checking the piston strikeface may leave an underlying problem unresolved.
Depending on the inspection results, the repair may require a compatible DTH bit, retaining rings, or other model-specific components.
Inspect O-rings, Seals, and Retaining Rings
Internal seals and retaining components can deteriorate through wear, contamination, heat, incorrect installation, or incompatibility with the application.
Inspect O-rings and other specified seals for:
- Cuts, tears, or surface damage.
- Flattening, hardening, or abnormal deformation.
- Swelling or other signs of material incompatibility.
- Damaged sealing grooves or mating surfaces.
- Evidence of leakage or contamination.
Retaining rings should also be checked for cracks, deformation, wear, and correct fit.
Replace damaged seals and retaining components according to the manufacturer's service instructions. Confirm the correct dimensions, material, and specification before ordering replacement parts.
A damaged O-ring does not automatically explain every no-impact failure. Determine whether the seal problem is affecting the hammer's operation and inspect other components for secondary damage.
If several internal components are worn, a model-specific service kit may be worth evaluating. The kit contents should match the actual repair requirements rather than being selected solely because the hammer has stopped impacting.
Decide Whether to Repair or Replace the Damaged Components
After completing the inspection, record the condition of the piston, strikeface, bit shank, seals, retaining components, and other relevant parts.
Use the manufacturer's wear limits and repair criteria to decide the next step.
| Inspection Result | Recommended Action |
|---|---|
| External air supply is inadequate | Correct the compressor or delivery system before replacing hammer components |
| Air passages are blocked | Clean and inspect the affected components; replace damaged parts if required |
| Lubrication delivery is insufficient | Restore the lubrication system and assess internal damage |
| Piston is damaged or outside its service limits | Evaluate piston replacement and inspect mating components |
| Strikeface or bit shank is damaged | Assess both contact surfaces and replace the confirmed damaged components |
| Seals or retaining rings are damaged | Replace the specified parts and inspect their mating surfaces |
| Multiple components show excessive wear | Assess a model-specific repair kit or professional overhaul |
The objective is to identify the failed component and its underlying cause, not to replace parts based on symptoms alone.
DTH Hammer Diagnostic Flowchart
Use this decision sequence to isolate the fault before dismantling the hammer.
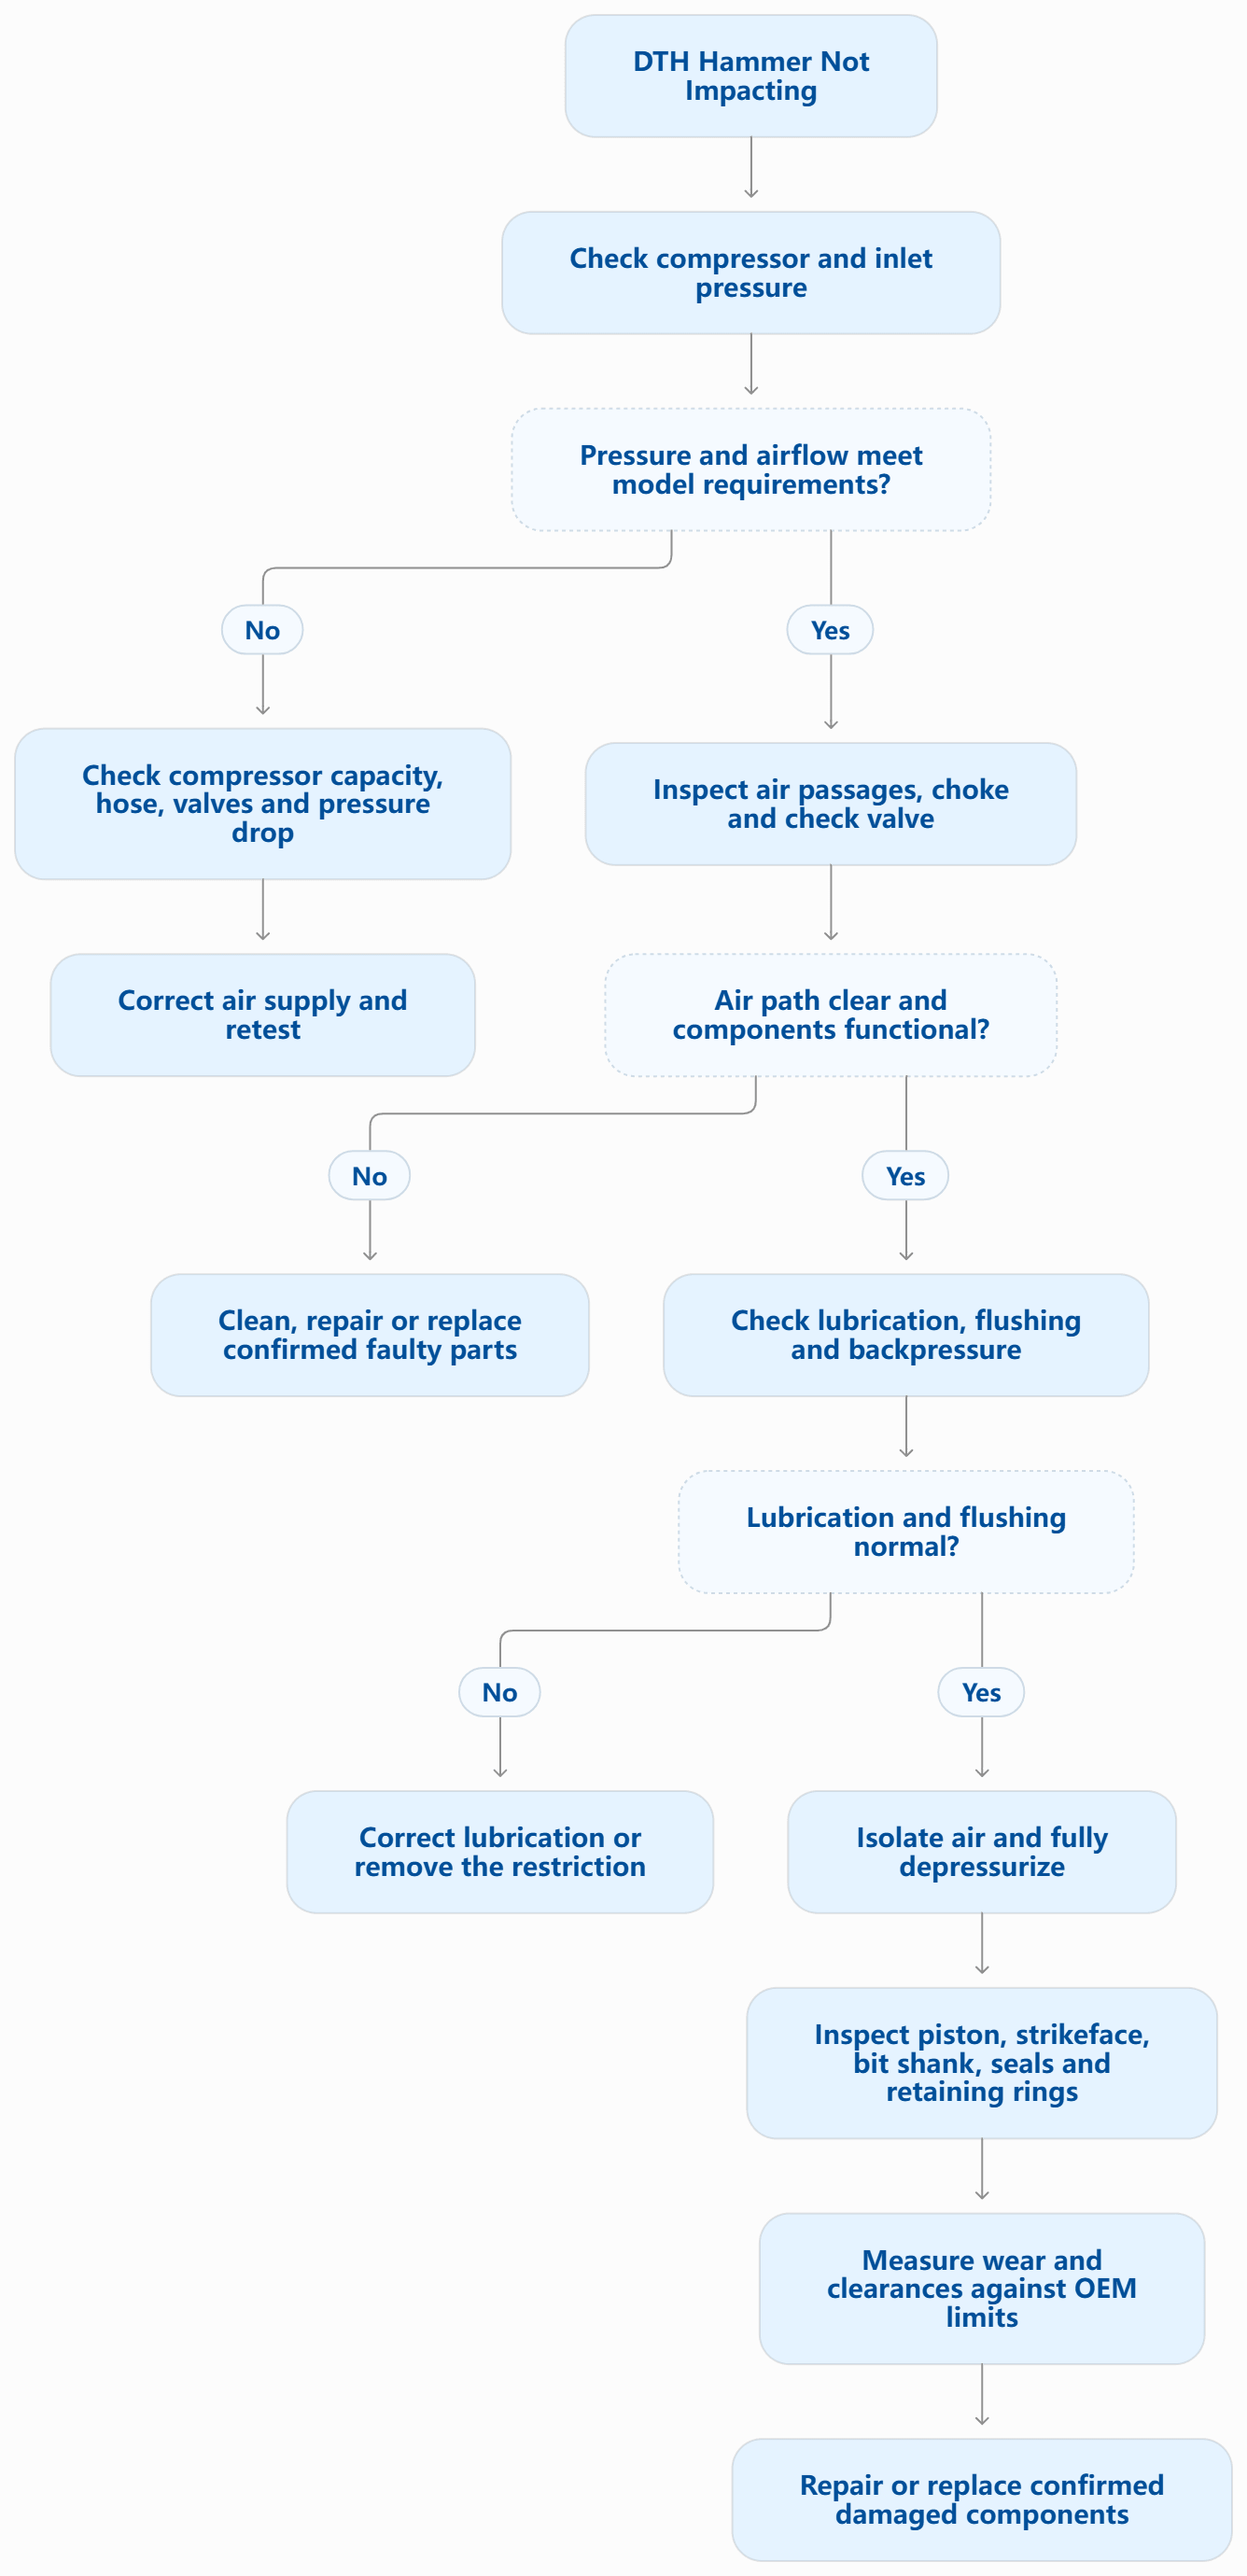
The flowchart is a diagnostic guide, not a substitute for the hammer's service manual. If the external supply and air path are satisfactory, internal inspection should be performed only after the system has been safely isolated and depressurized.
Which DTH Hammer Parts May Need Replacement?
Not every hammer that stops impacting requires a new piston or a complete overhaul. The correct replacement parts depend on the fault confirmed during inspection.
| Component | When Replacement May Be Necessary | What to Check First |
|---|---|---|
| Piston | Damage, deformation, abnormal wear, or failure to meet service limits | Piston condition, mating surfaces, and specified clearances |
| Check valve or equivalent air-control component | Confirmed sticking, damage, or failure to operate as designed | Hammer configuration, installation, and air-path condition |
| O-rings and seals | Cuts, hardening, deformation, incompatibility, or other specified failure criteria | Correct dimensions, material, grooves, and mating surfaces |
| Retaining rings | Cracks, deformation, excessive wear, or failure to retain the bit correctly | Retaining grooves, fit, and related components |
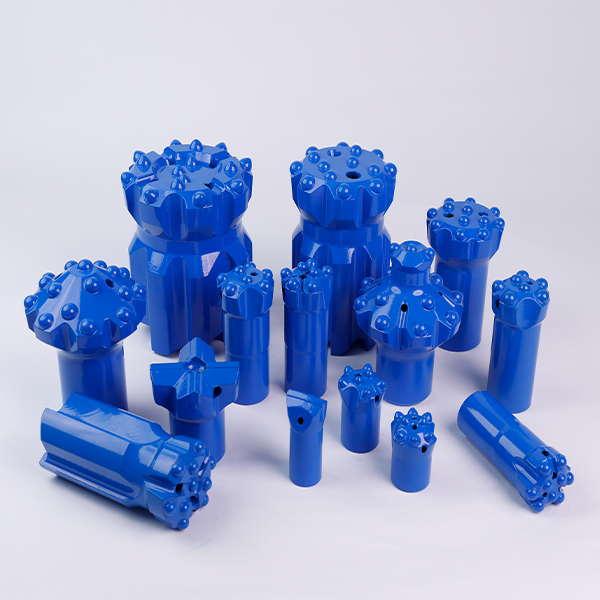
| DTH bit | Damaged bit shank, worn contact surfaces, or other conditions beyond permitted limits | Bit condition, strikeface, and shank clearance |
| Other internal wear components | Damage or wear beyond the manufacturer's permitted limits | Inspection findings and the model-specific service manual |
Before ordering, confirm the hammer brand, model, size, and required part specification. Components that appear similar may not be interchangeable.
If the hammer has sustained damage to multiple internal components, consider a complete inspection and parts assessment rather than ordering a single component based on the initial symptom.
How to Prevent DTH Hammer Impact Failures
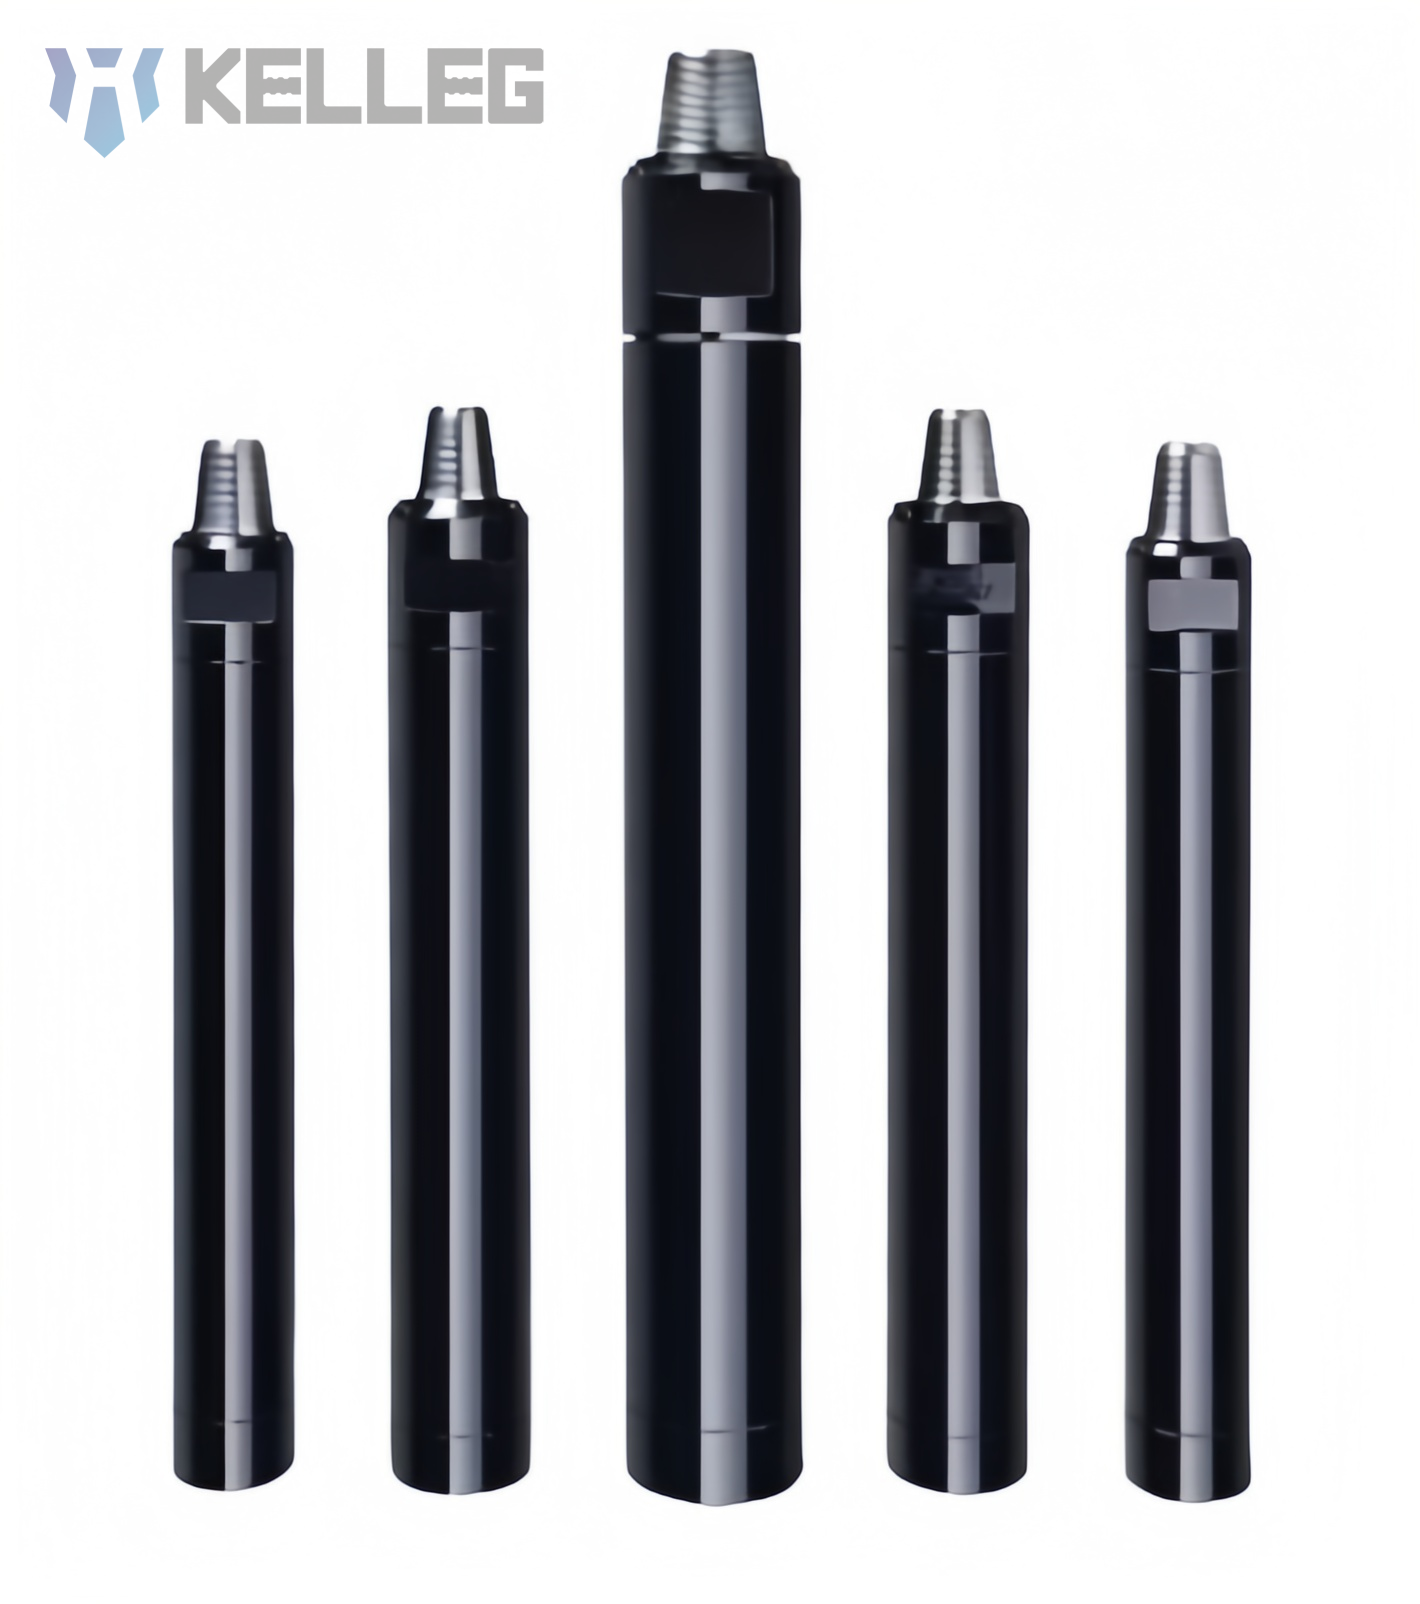
Preventive maintenance cannot eliminate every failure, but it can help identify developing problems before they cause extended downtime.
Monitor Operating Pressure and Airflow
Record pressure under representative operating conditions and investigate abnormal changes. Confirm that the compressor can deliver the required airflow at the working pressure.
Maintain the Lubrication System
Check the air line oiler, lubricant type, and delivery setting according to the manufacturer's recommendations. Investigate repeated lubrication problems rather than simply increasing the oil feed.
Keep Air Passages and Connections in Good Condition
Inspect accessible connections and serviceable passages for contamination, damage, and restrictions. Ensure that the installed components match the hammer configuration.
Monitor Flushing Performance
Watch for changes in cuttings removal, blocked bit exhaust holes, and abnormal backpressure. Poor flushing should be investigated before it contributes to more serious operating problems.
Inspect Wear Components at the Required Intervals
Check the piston, strikeface, bit shank, seals, and retaining components according to the specified maintenance schedule. Record measurements where required and compare them with the manufacturer's service limits.
Keep a Record of Repeated Failures
For each incident, record the hammer model, operating conditions, symptoms, maintenance history, and inspection findings. This information helps distinguish recurring air-supply problems from lubrication faults or internal mechanical damage.
Need Help Choosing the Right DTH Hammer?
If your DTH hammer is not impacting, diagnosing the cause is the first step toward restoring drilling performance. Check the air supply, operating pressure, lubrication, and flushing conditions before determining whether the hammer requires further inspection or replacement.
If the hammer has sustained significant internal damage or repeatedly fails to operate correctly, it may be worth evaluating a replacement hammer that matches your drilling equipment and operating conditions.
At Kelleg, we supply DTH hammers for different drilling applications. Our team can help you identify a suitable hammer based on your equipment specifications, drilling conditions, and performance requirements.
When contacting us, please provide the following information:
- Current hammer model: Brand, model, and hammer size, if available.
- Drilling application: Quarrying, mining, water well drilling, construction, or other applications.
- Rock conditions: Rock type, hardness, and drilling environment.
- Operating conditions: Compressor pressure, available airflow, and drill rig specifications.
- Current performance issues: No impact, intermittent impact, reduced penetration rate, or other abnormal behavior.
These details help us understand your application and assess which DTH hammer may be suitable for your drilling requirements.
Looking for a Replacement DTH Hammer?
Contact Kelleg to discuss your drilling application and find a suitable DTH hammer for your equipment. Our team can help you evaluate hammer specifications and compatibility before making a purchasing decision.
Contact Kelleg for DTH Hammer Selection and Technical Consultation
Frequently Asked Questions
Why Is My DTH Hammer Not Impacting Even Though Air Is Coming Out?
Air coming out of a DTH hammer does not necessarily mean that the piston is cycling correctly. Possible causes include insufficient operating pressure or airflow, restricted air passages, a faulty internal air-control component, lubrication problems, or a mechanically stuck piston.
First, measure the pressure and verify airflow under operating conditions. If the supply is adequate, inspect the air path and lubrication system. If these checks pass, isolate and fully depressurize the equipment before inspecting the piston and internal components according to the manufacturer's service manual.
Can Low Air Pressure Cause a DTH Hammer to Stop Hitting?
Yes. If the pressure or airflow delivered to the hammer falls below the requirements for its model and operating conditions, the piston may fail to cycle properly or impact performance may deteriorate.
Check the compressor's effective airflow, pressure at the hammer inlet, and pressure losses across hoses, valves, and drill-string connections. Compare the readings with the manufacturer's specifications. If the supply is adequate, investigate air-path restrictions and internal mechanical faults.
How Do I Know If the DTH Hammer Piston Is Stuck or Worn Out?
A stuck or worn piston cannot be confirmed from the lack of impact alone. First rule out insufficient air supply, restricted passages, lubrication problems, and other external causes.
After isolating the air supply and fully depressurizing the equipment, inspect the piston for scoring, abnormal wear, deformation, contamination, and heat damage. Check the mating surfaces and required clearances against the manufacturer's service limits. Replace the piston only when inspection confirms that it is damaged or outside the permitted limits, and inspect related components for secondary damage.